Site Index, Search, Glossary. Updated 21 Apr 2006, flagged by <$
Home > Miscellaneous > Montana Safeguard Complex >
Montana PAR > Montana PAR Photo Galleries > No thumbnails
No Thumbnail Montana PAR Gallery
Unless otherwise noted, photos/video by
Steve Petrizzo, 11 Oct 2004.
Section A
Aerial and distant views.
(Thumbnails)
-
A01:
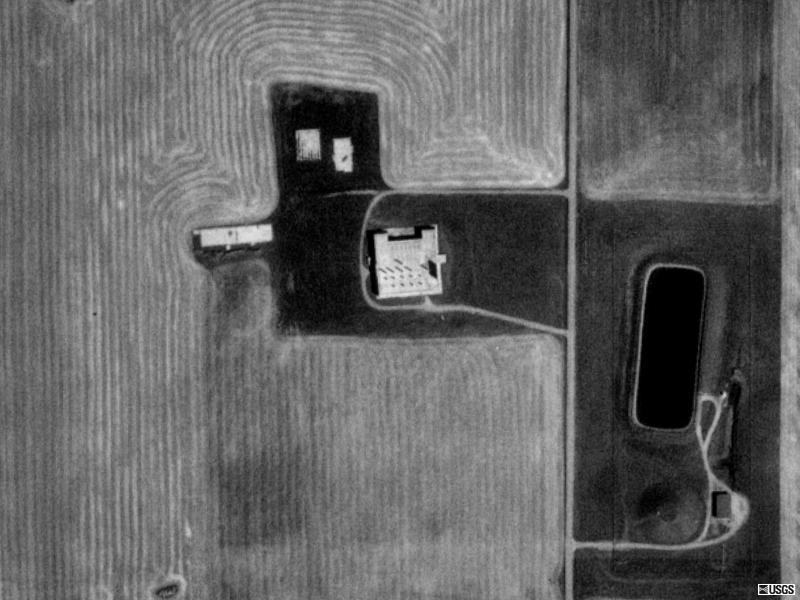
High altitude photo showing PAR site after restoration (1997).
-
The PAR building is in the center. The open water reservoir is on the right, with the closed reservoir just below it. There is no trace of the power plant or heat sink.
-
(393 x 295 = 36k) Show | Omit descr (004923)
(800 x 600 = 72k) Show | Omit descr
-
From TerraServer.
-
A02:
<$ Aerial photo showing PAR site after restoration (1974).
-
This view looks east. The open water reservoir is in the center of the photo, with the closed reservoir just to its right.
-
From Robert L. Bleecker, Jr. regarding the larger of the two auxiliary buildings (in the foreground): One of the metal buildings that used to sit on a large pad just West of the PAR was purchased by Toole County School District number 14 and put to use as the Vocational/Agricultural building to the North of Shelby High School in Shelby, Mt...my old Alma Mater, as it were. The art rooms, wood and auto shops as well as the band rooms are now housed in this metal building. It is about...75 ft wide by 150 ft long if my guess is correct.
-
(461 x 295 = 042k) Show | Omit descr (002925)
(899 x 575 = 129k) Show | Omit descr
-
From History of the Huntsville Division.
-
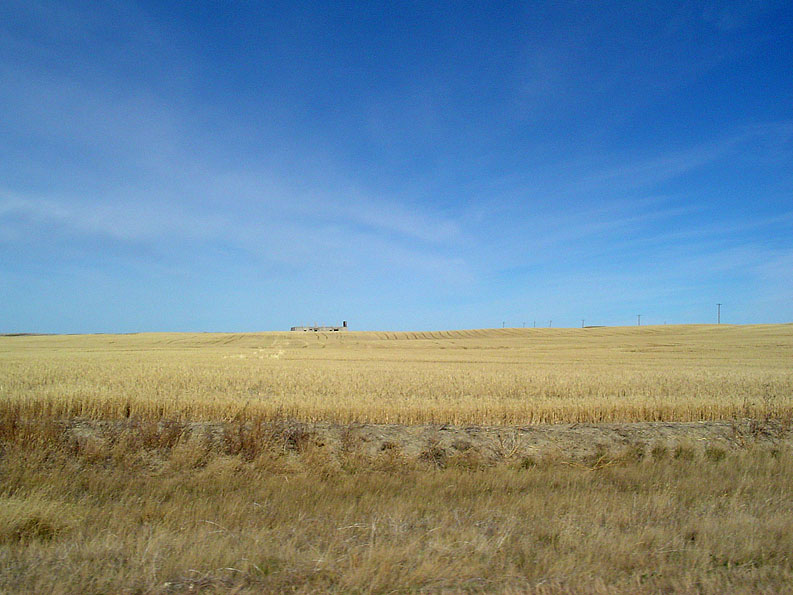
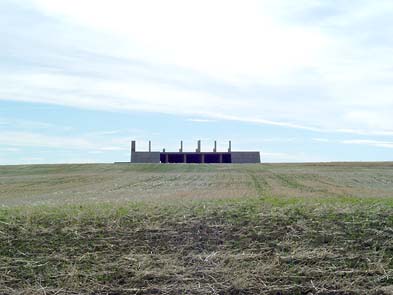
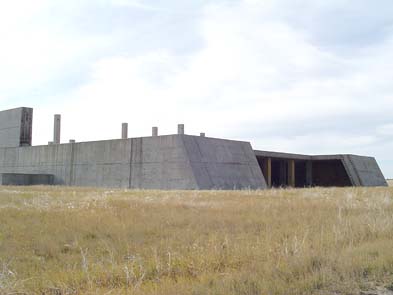
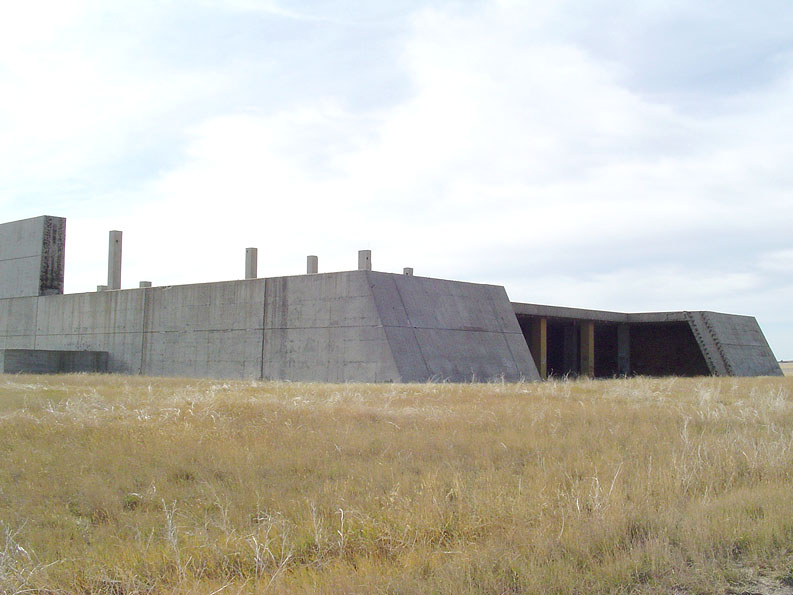
A03:
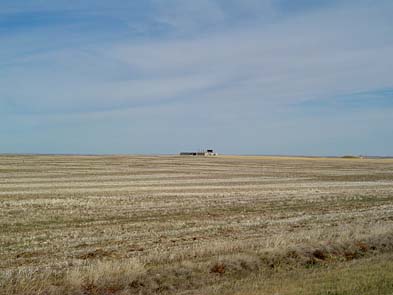
Distant view from the southwest.
-
(0393 x 0295 = 0035k) Show | Omit descr (004855)
(0793 x 0595 = 0135k) Show | Omit descr
(2048 x 1536 = 1107k) Show | Omit descr
-
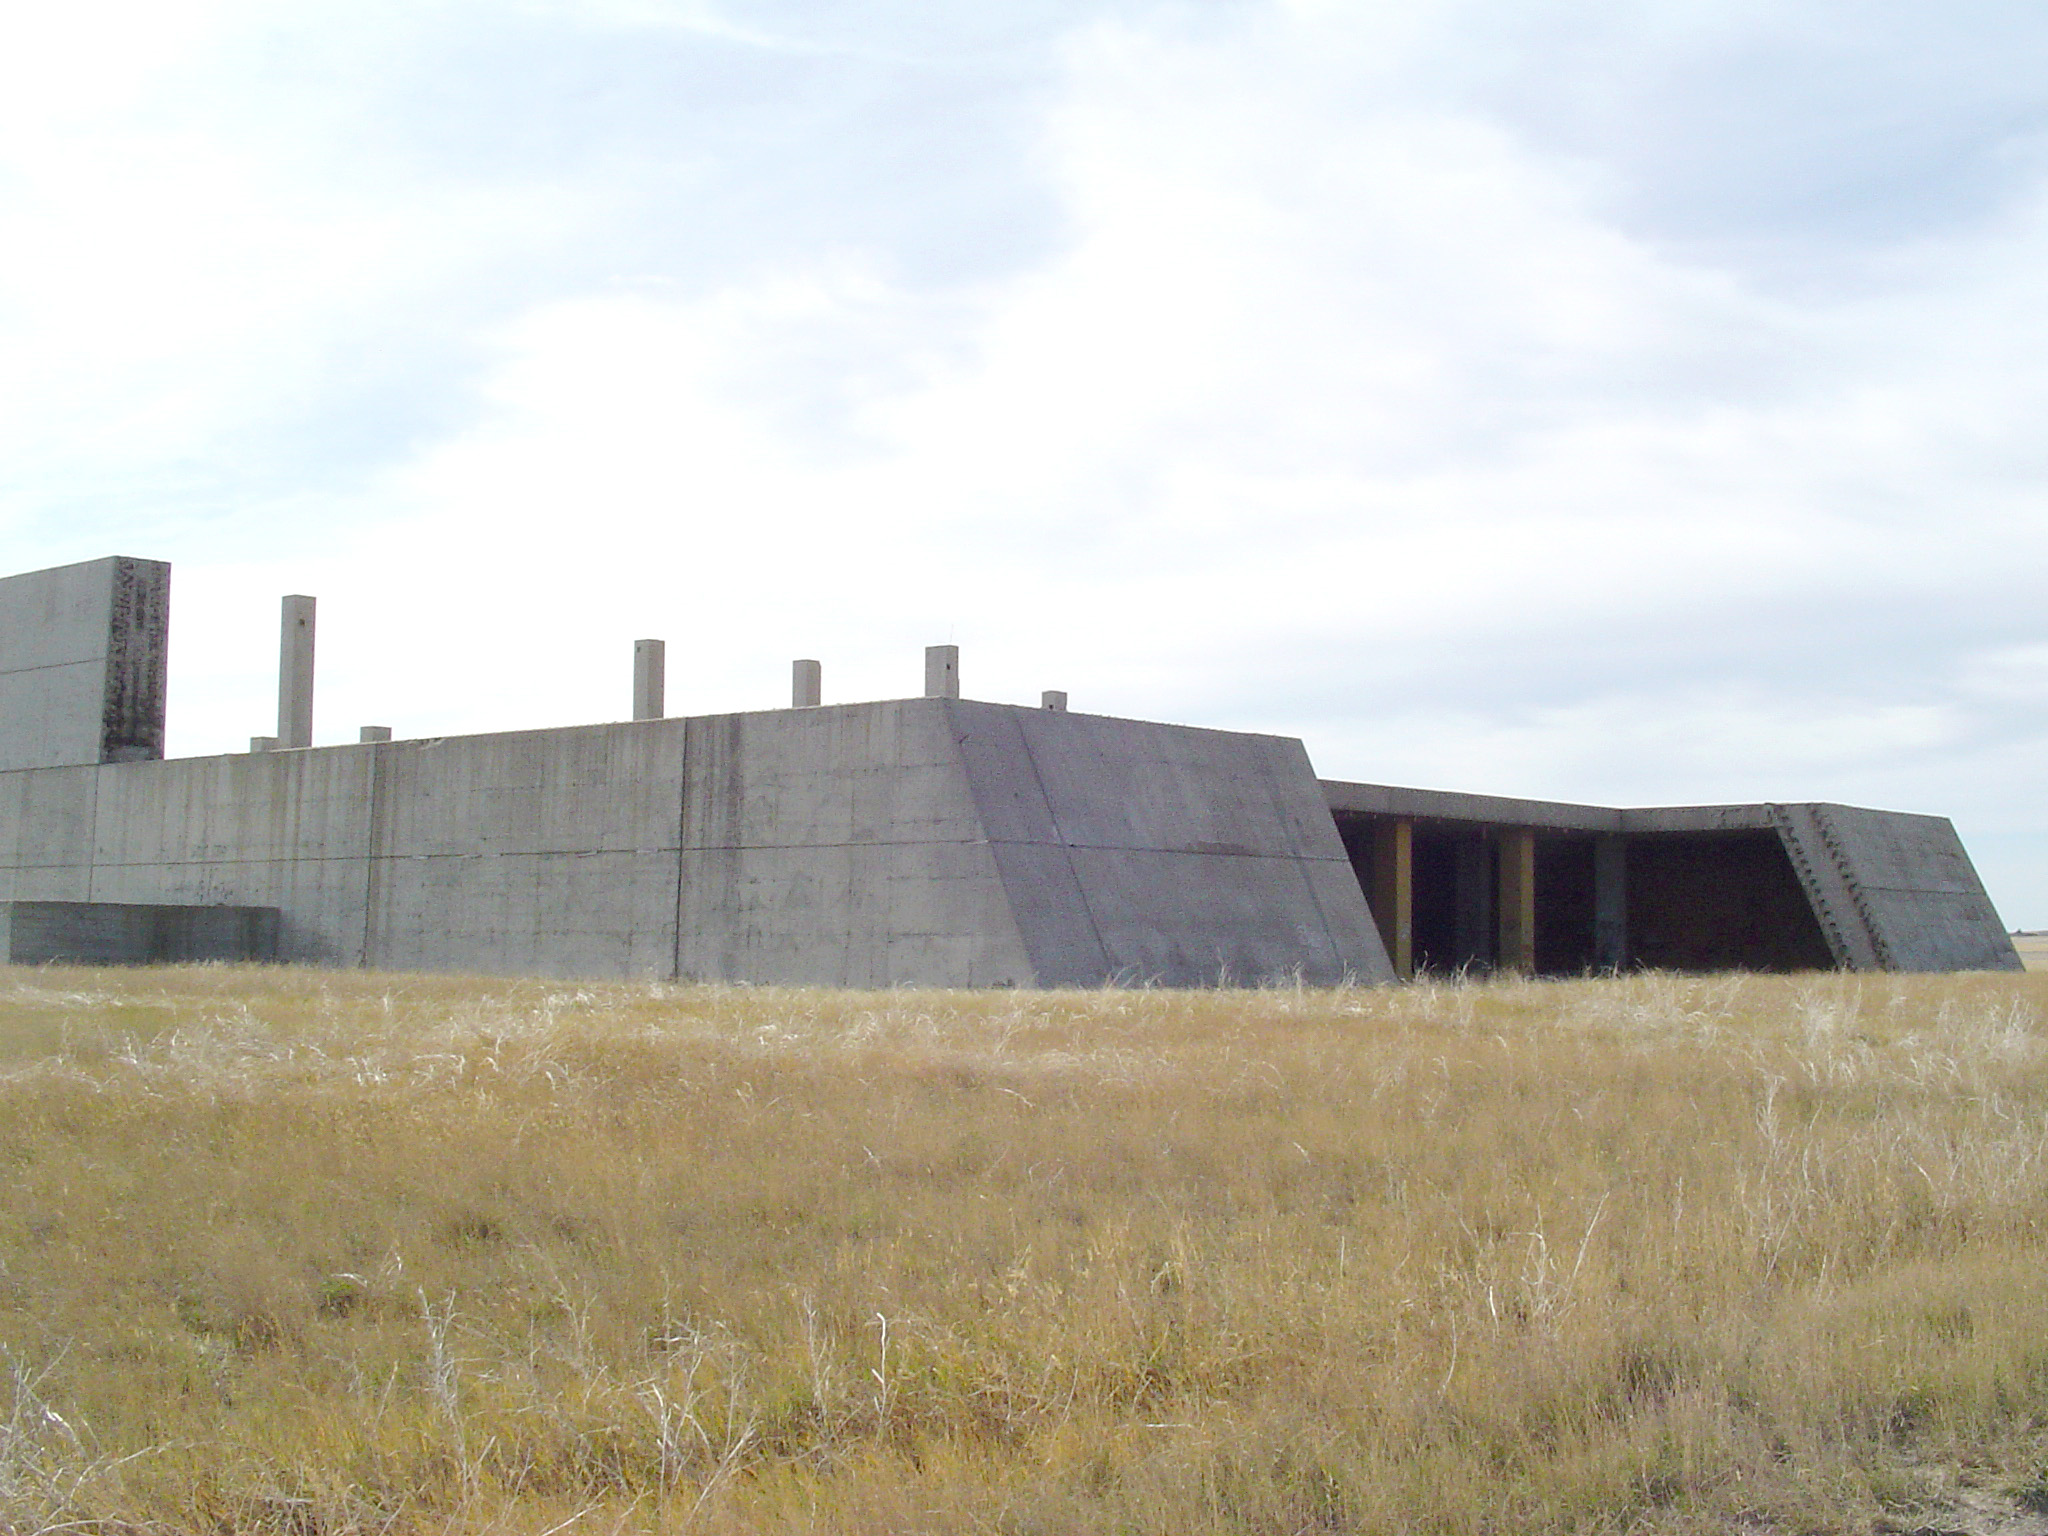
A04:
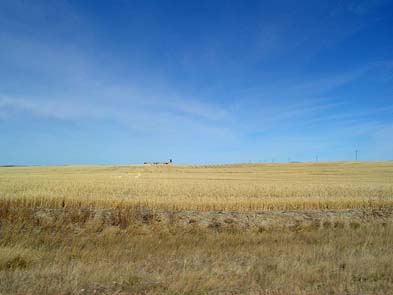
Distant view from the south.
-
(393 x 295 = 031k) Show | Omit descr (004854)
(793 x 595 = 122k) Show | Omit descr
-
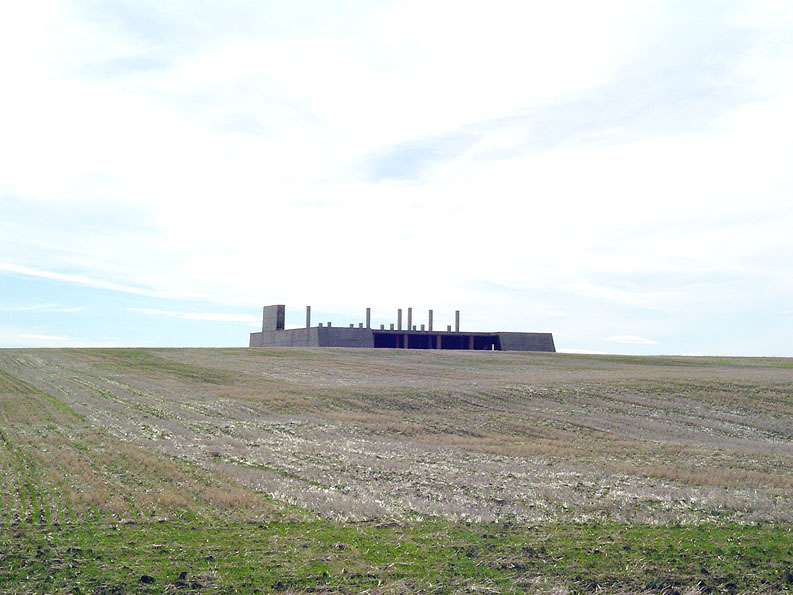
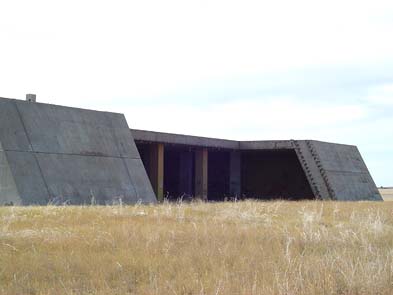
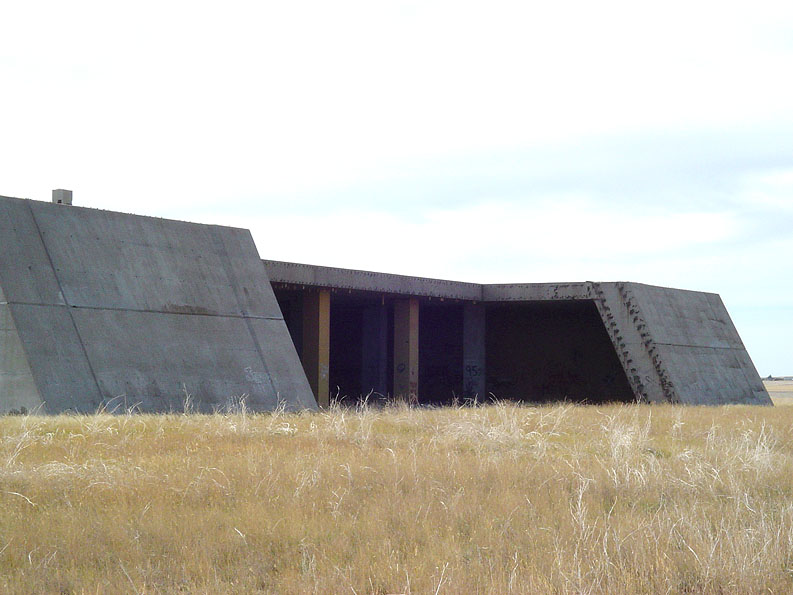
A05:
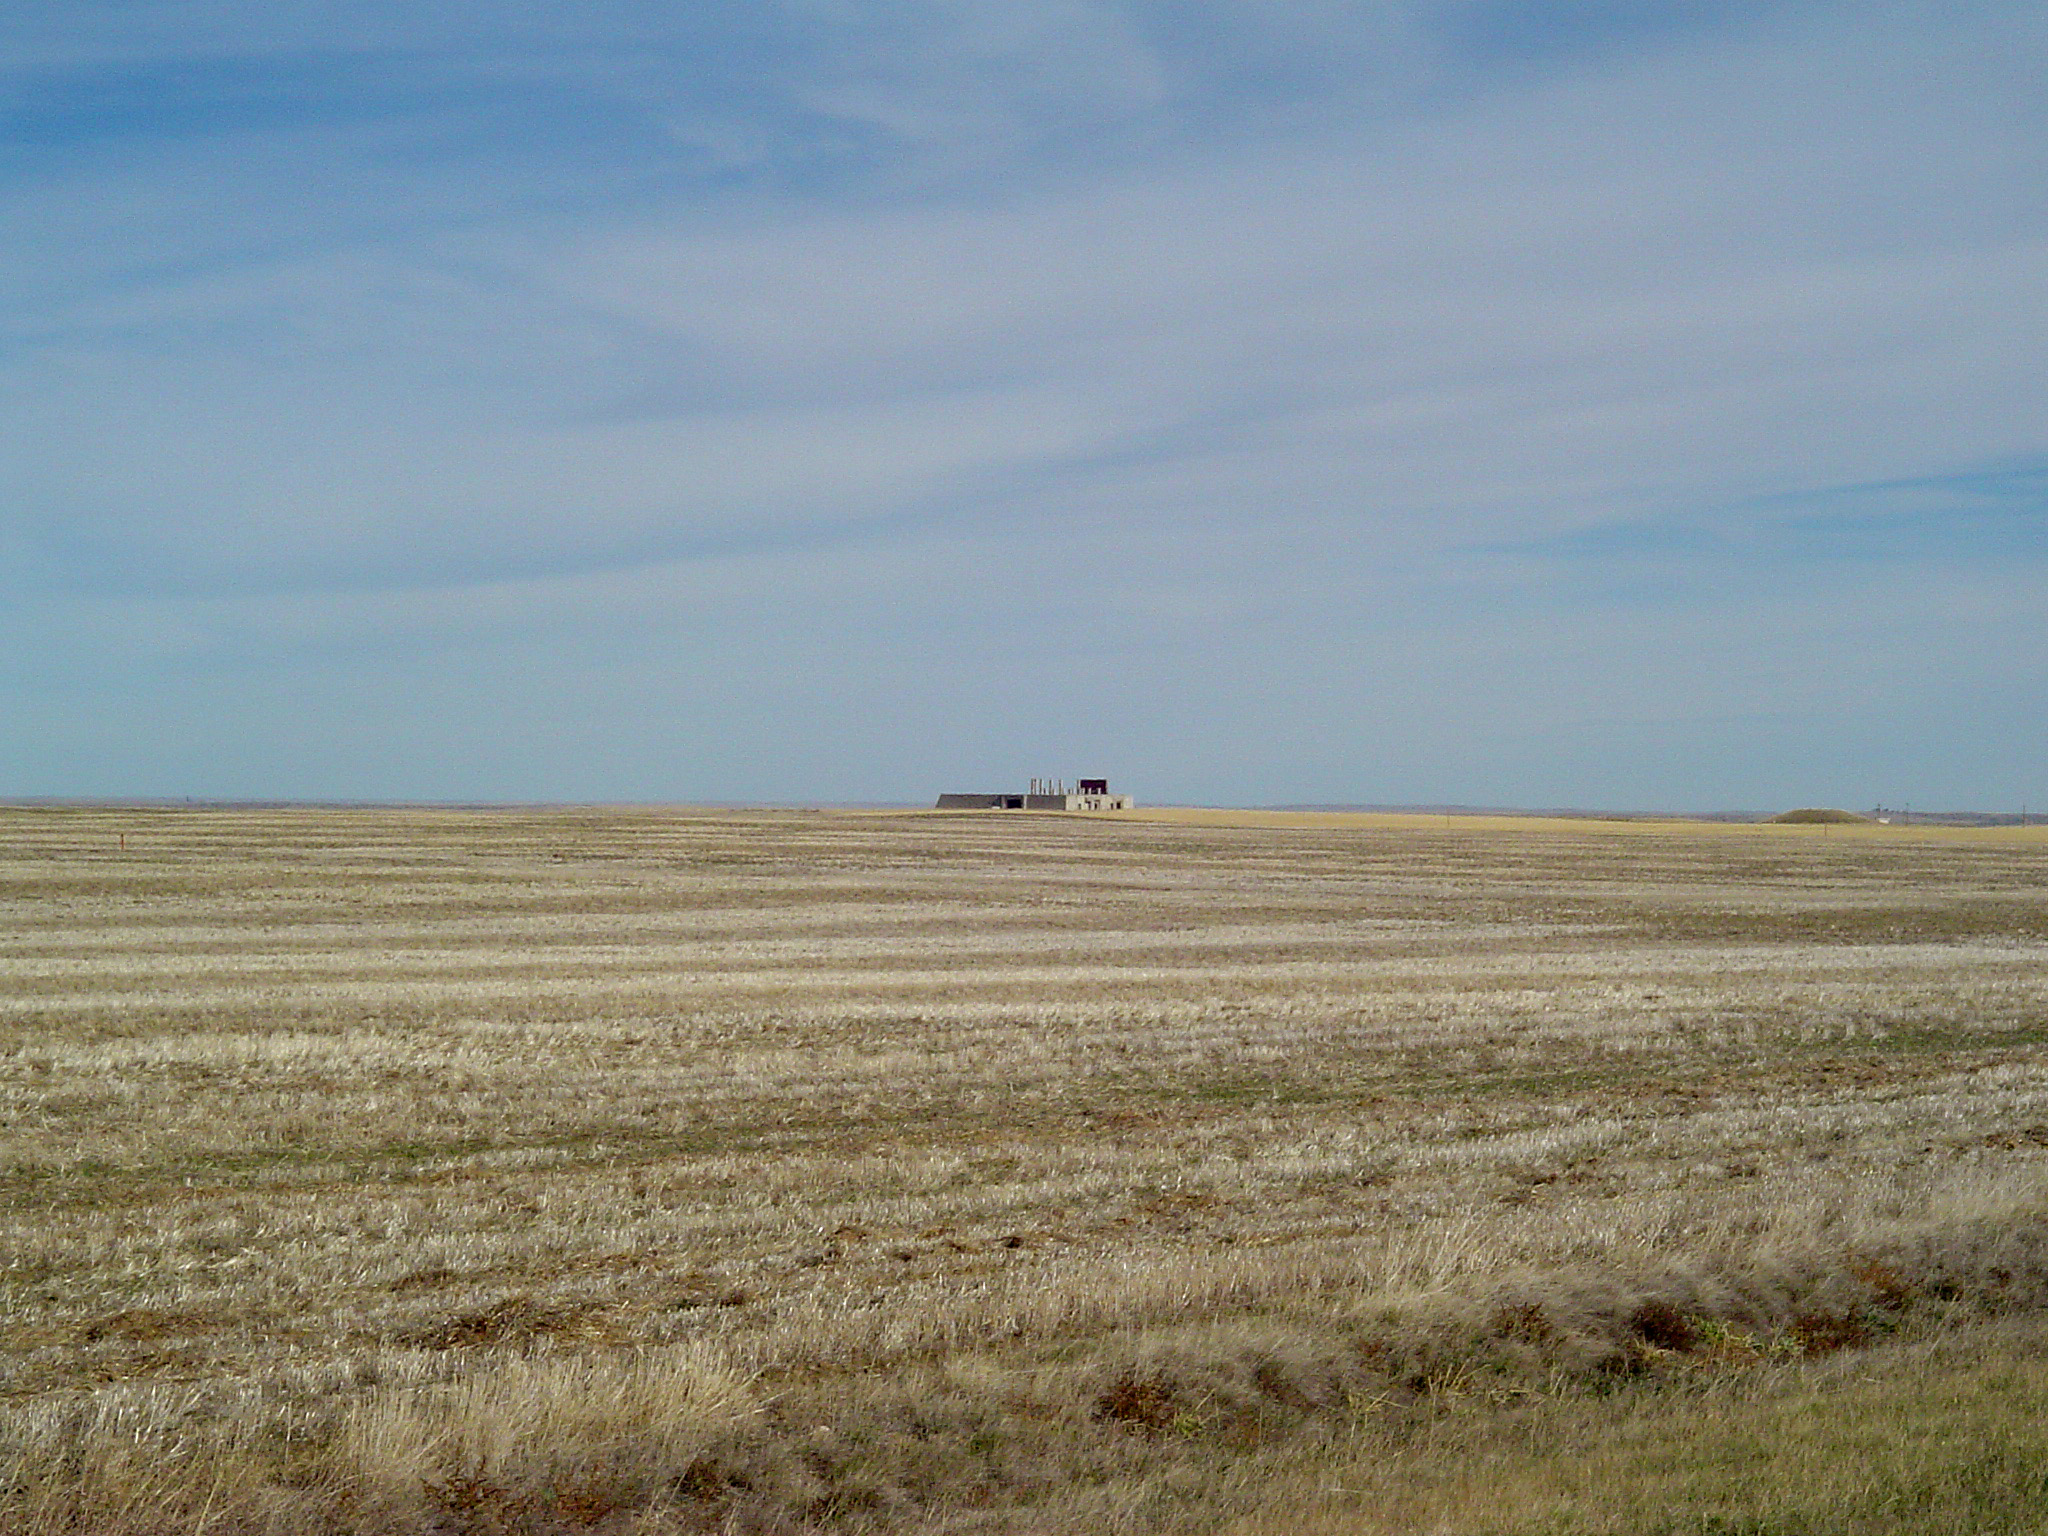
Closer view from the south.
-
(393 x 295 = 034k) Show | Omit descr (004853)
(793 x 595 = 137k) Show | Omit descr
-
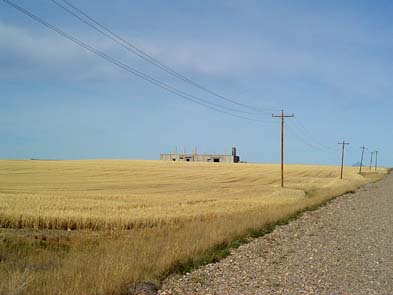
A06:
Distant view from the northeast.
-
(393 x 295 = 035k) Show | Omit descr (004852)
(793 x 595 = 125k) Show | Omit descr
-
A07v:
<$ Video: Distant view from northeast, antenna wall, and east wall.
-
mpg, 00:09 (640 x 480 = 3.2m) 004863
-
A08v:
<$ Video: Distant view from northeast, antenna wall, panning to view north.
-
mpg, 00:07 (640 x 480 = 2.4m) 004864
-
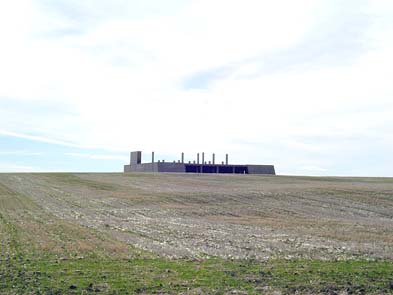
A09:
Distant view from the north.
-
(393 x 295 = 040k) Show | Omit descr (004851)
(793 x 595 = 142k) Show | Omit descr
-
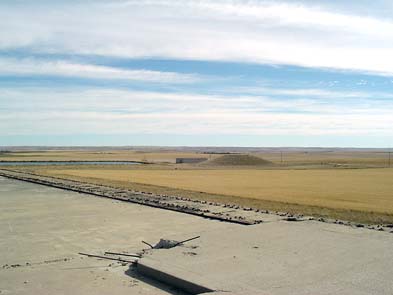
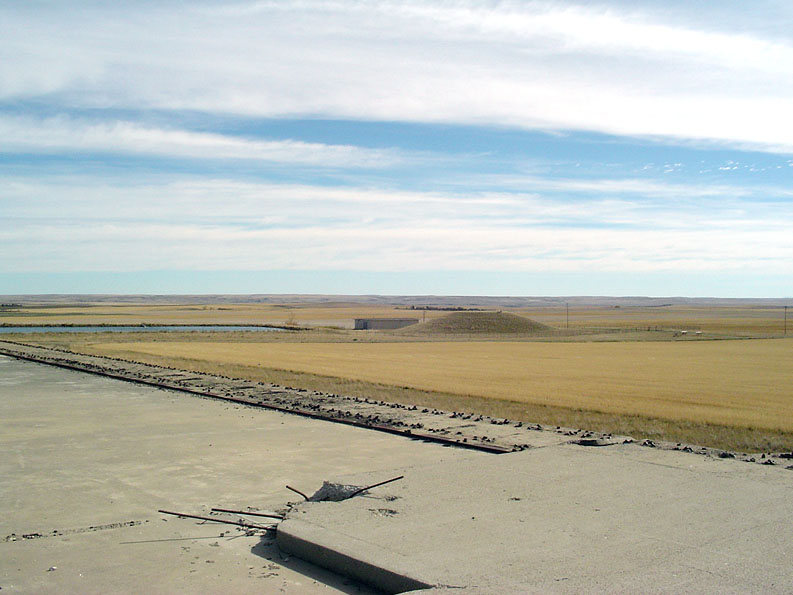
A10:
Water storage facilities seen from level 2 of the PAR building.
-
The closed reservoir is in the center, the open reservoir to the left of center.
-
(393 x 295 = 034k) Show | Omit descr (004842)
(793 x 595 = 102k) Show | Omit descr
Section B
South and east walls
(Thumbnails)
-
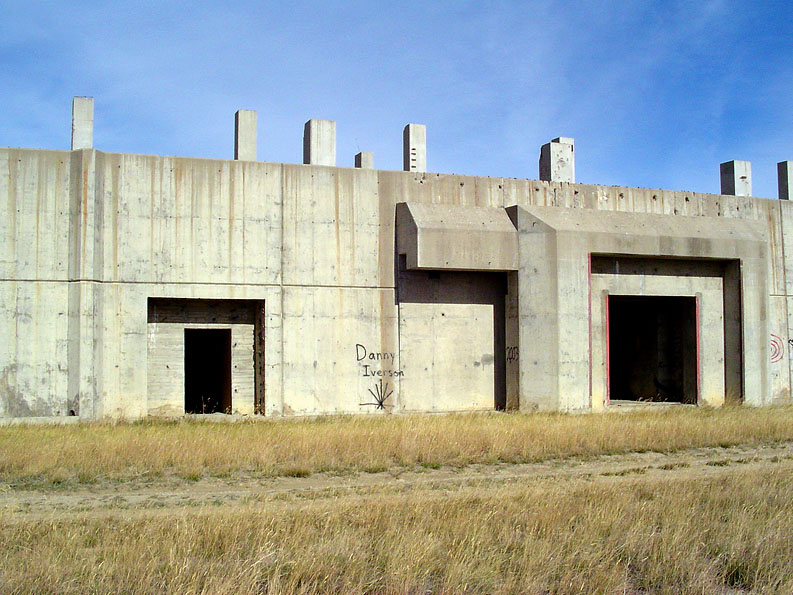
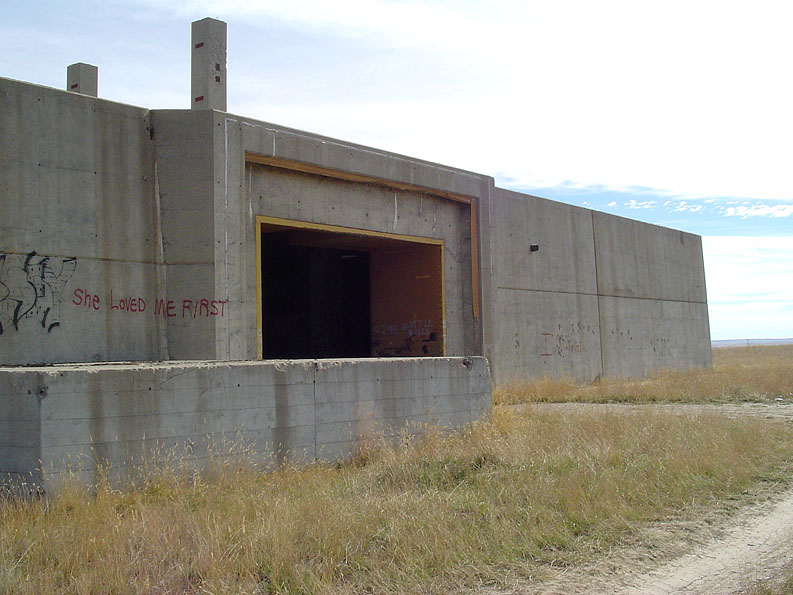
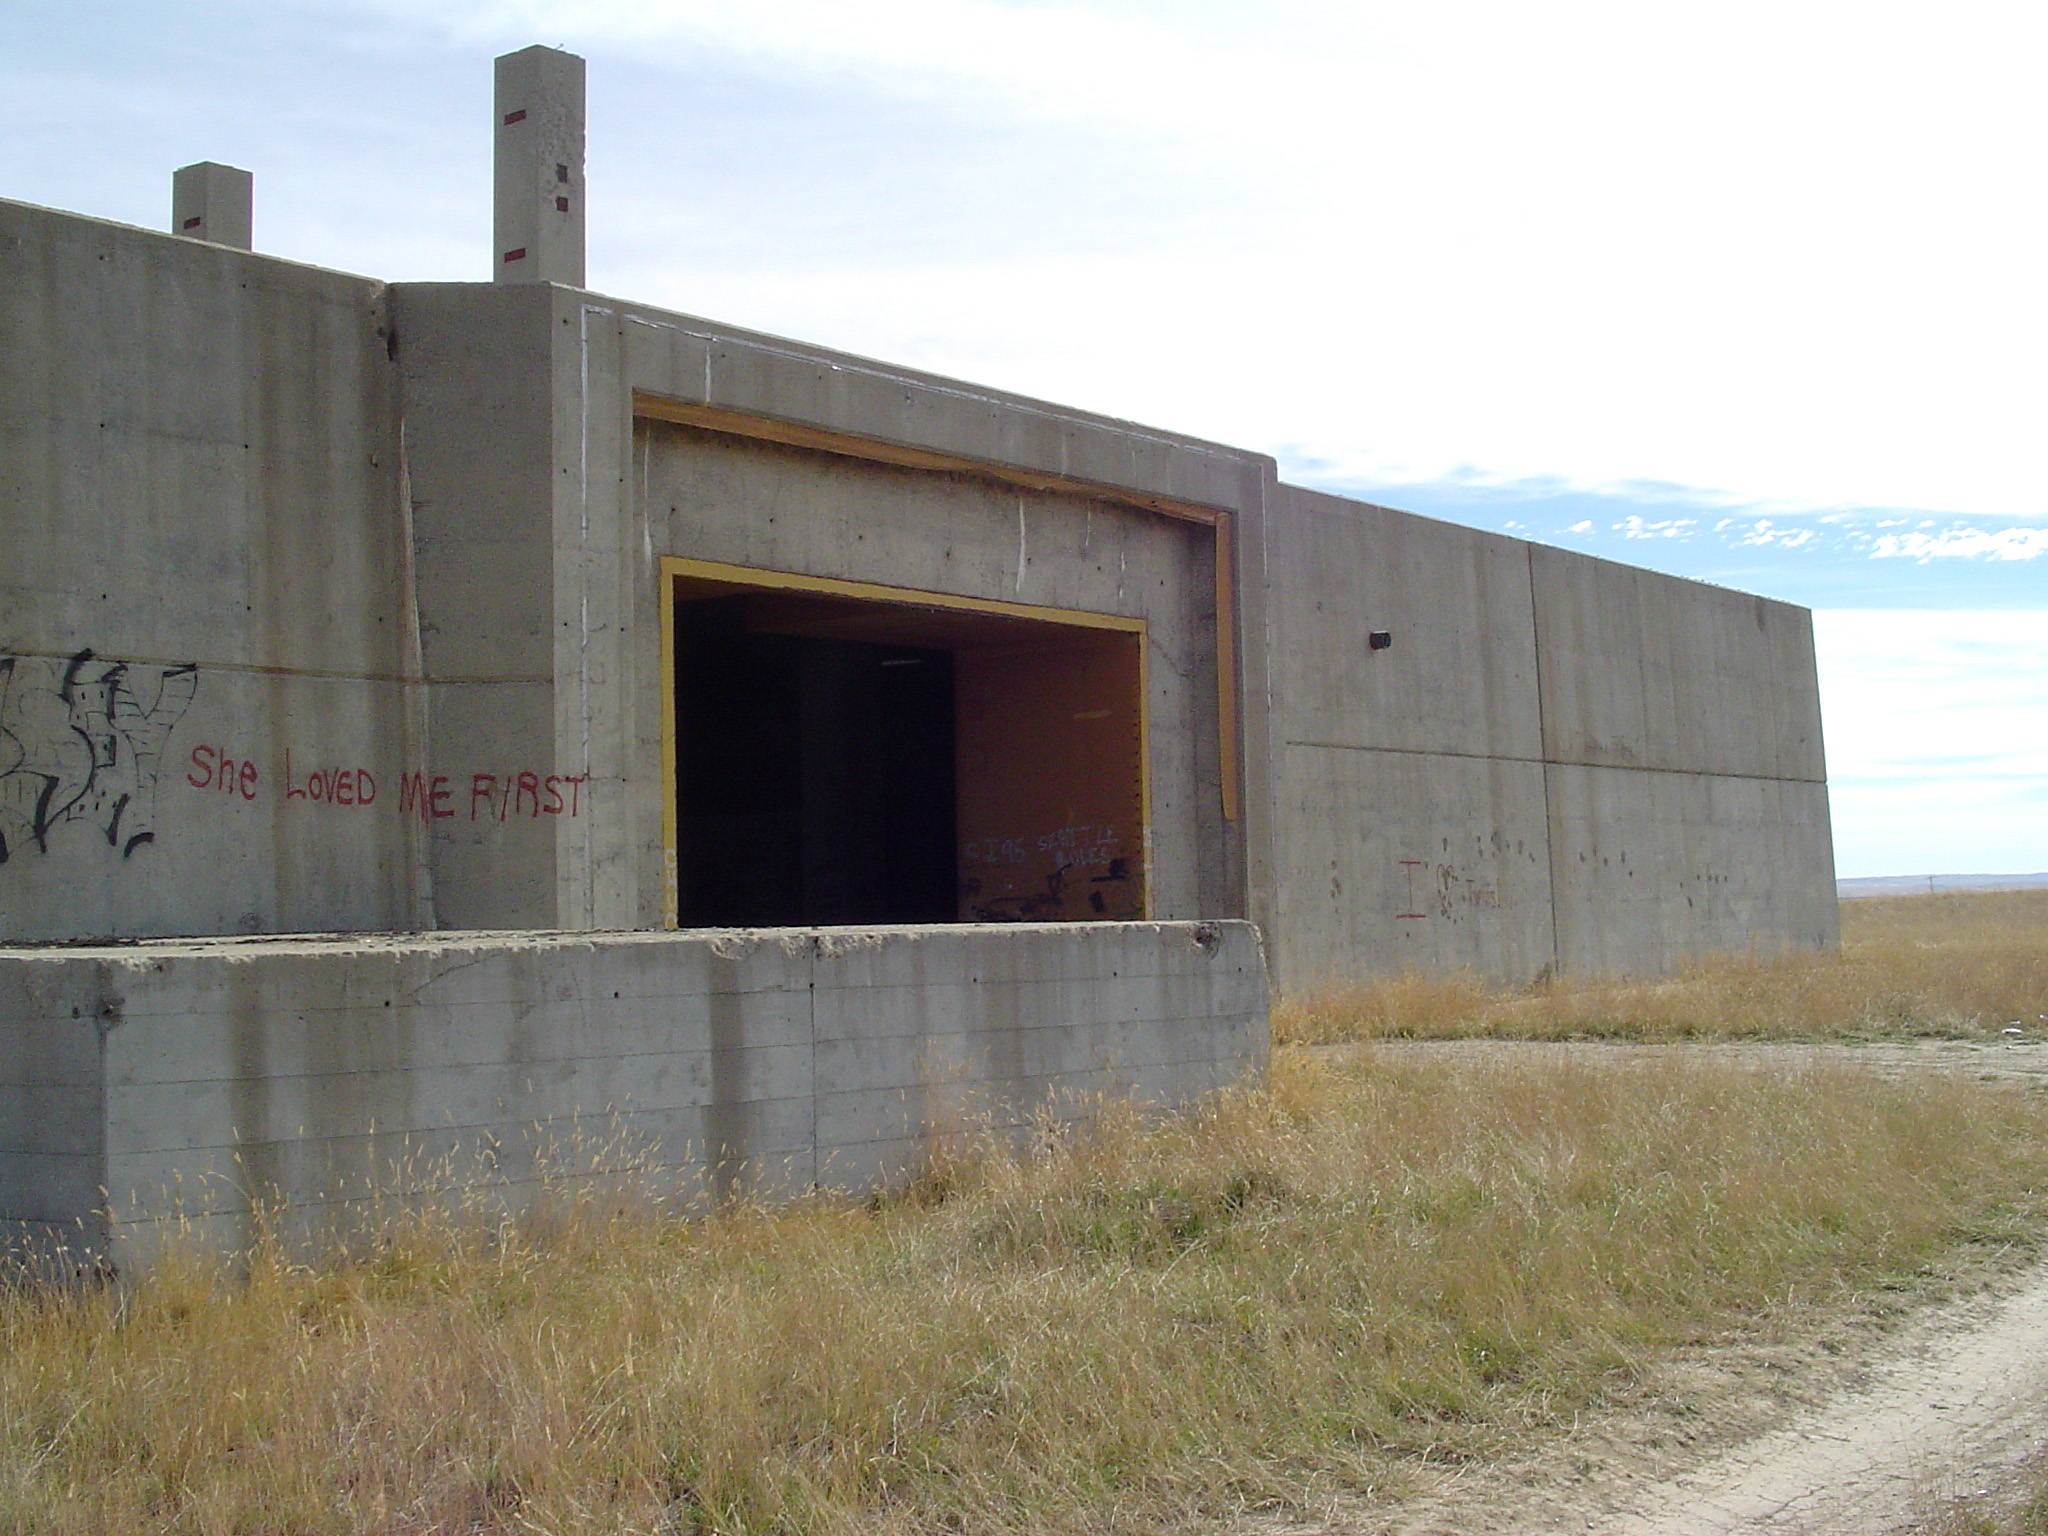
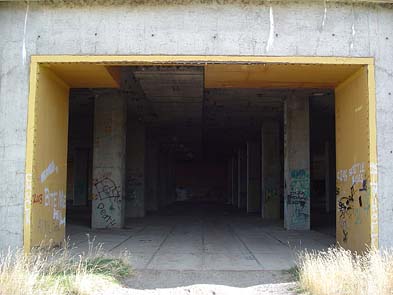
B01:
Entrance openings in the south wall.
-
(393 x 295 = 044k) Show | Omit descr (004818)
(793 x 595 = 162k) Show | Omit descr
-
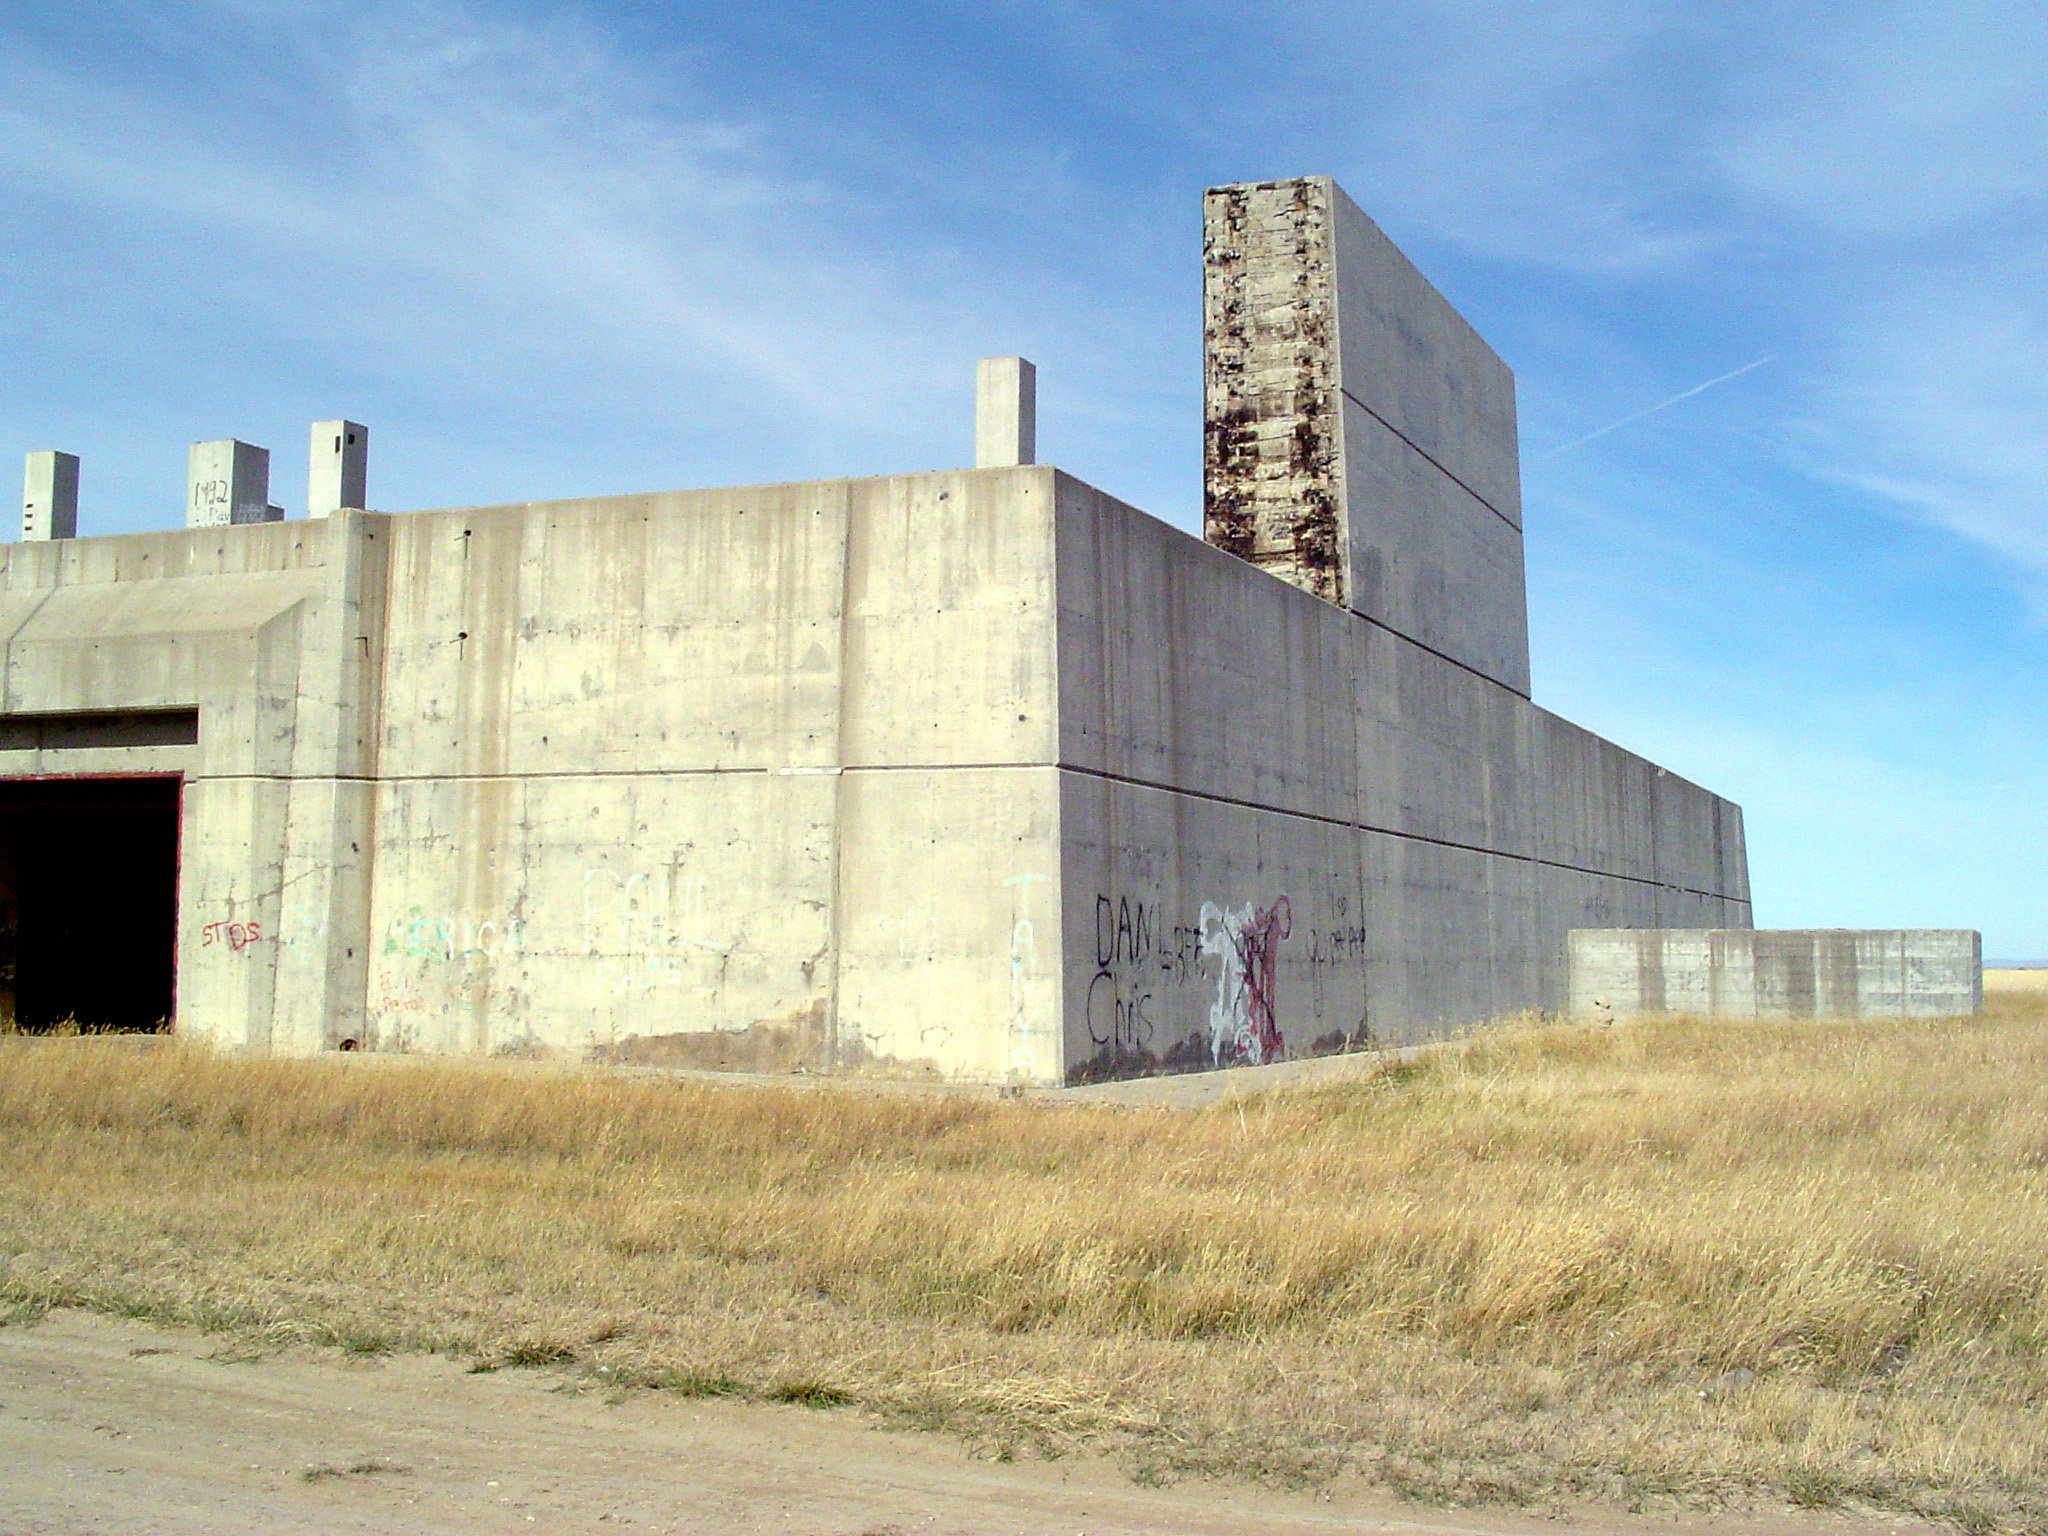
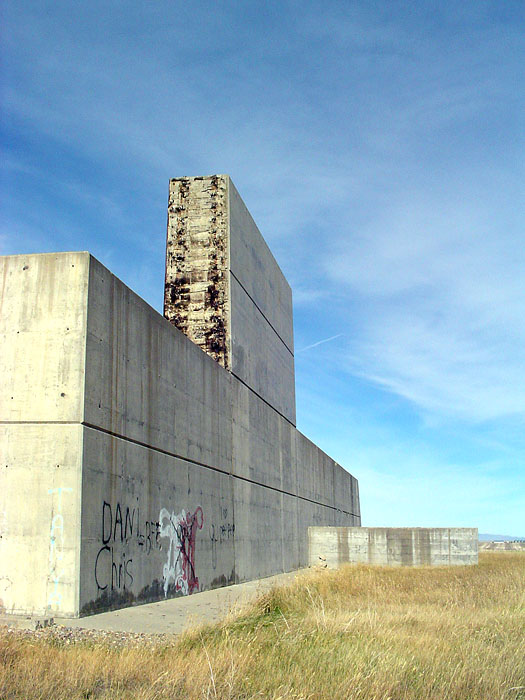
B02:
Southeast corner.
-
This photo shows the only completed segment of exterior wall on level 2.
-
(0393 x 0295 = 0041k) Show | Omit descr (004815)
(0793 x 0595 = 0145k) Show | Omit descr
(2048 x 1536 = 1114k) Show | Omit descr
-
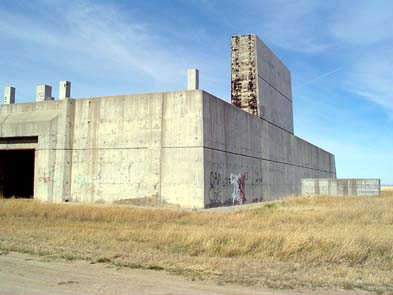
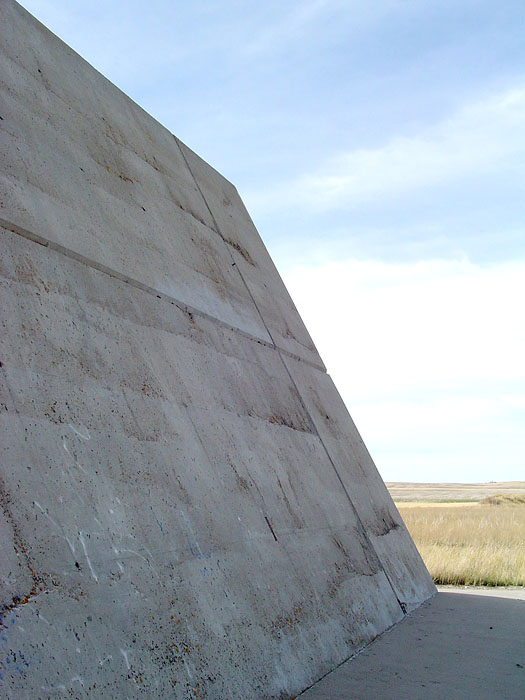
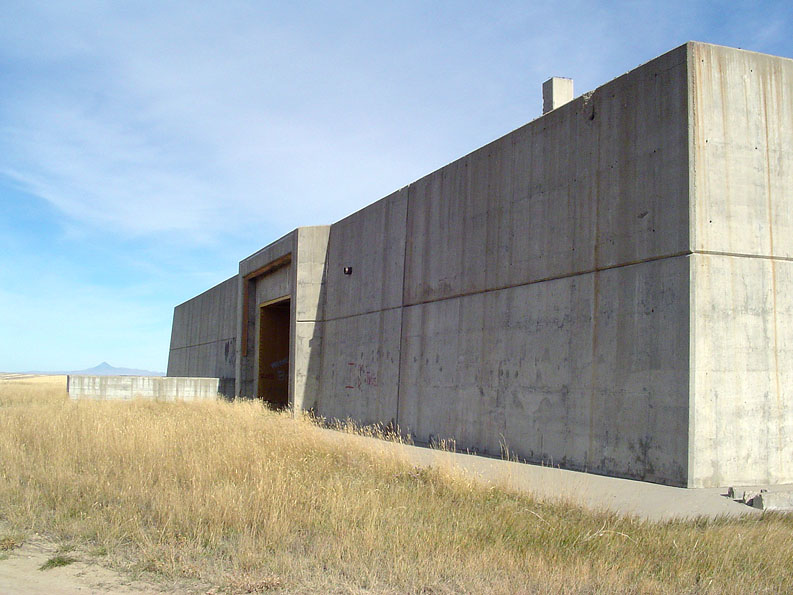
B03:
East wall.
-
(270 x 360 = 036k) Show | Omit descr (004816)
(525 x 700 = 109k) Show | Omit descr
Section C
North (antenna) wall
(Thumbnails)
-
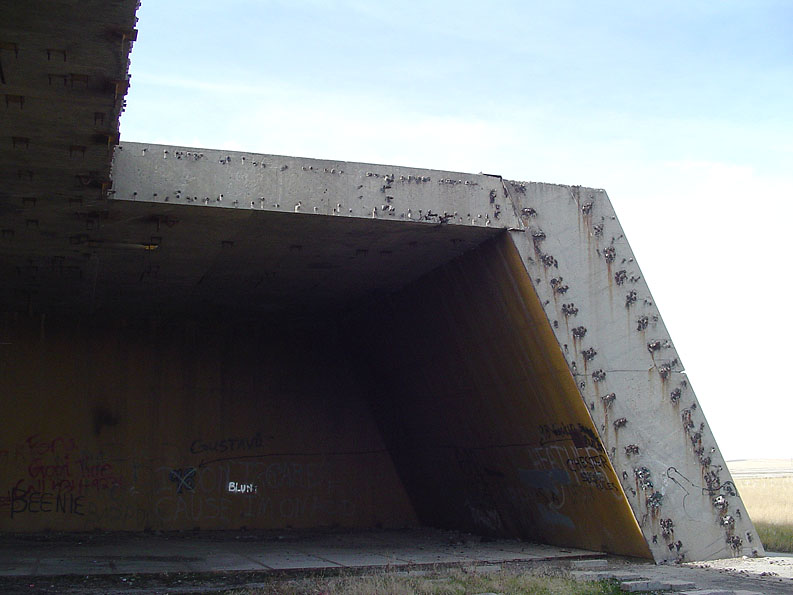
C01:
Northeast corner.
-
(0393 x 0295 = 031k) Show | Omit descr (004849)
(0793 x 0595 = 101k) Show | Omit descr
(2048 x 1536 = 766k) Show | Omit descr
-
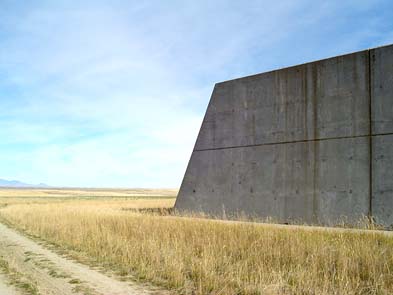
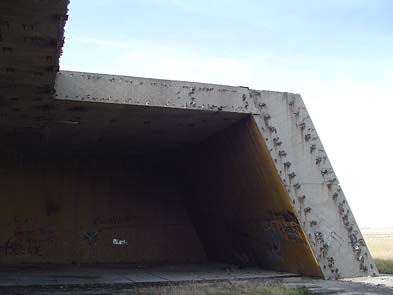
C02:
Antenna wall from the northeast.
-
Work hasn't started on the center section containing the radar tube penetrations.
-
(393 x 295 = 031k) Show | Omit descr (004847)
(793 x 595 = 104k) Show | Omit descr
-
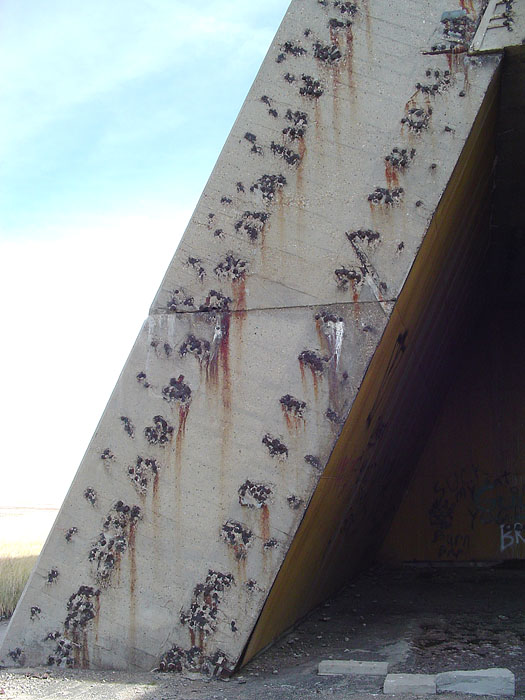
C03:
Antenna wall at the northwest corner.
-
(270 x 360 = 30k) Show | Omit descr (004832)
(525 x 700 = 89k) Show | Omit descr
-
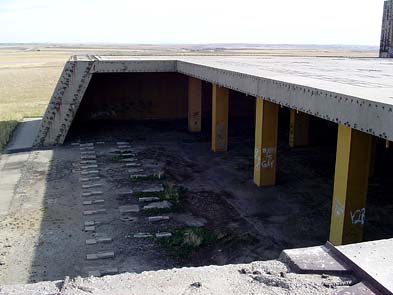
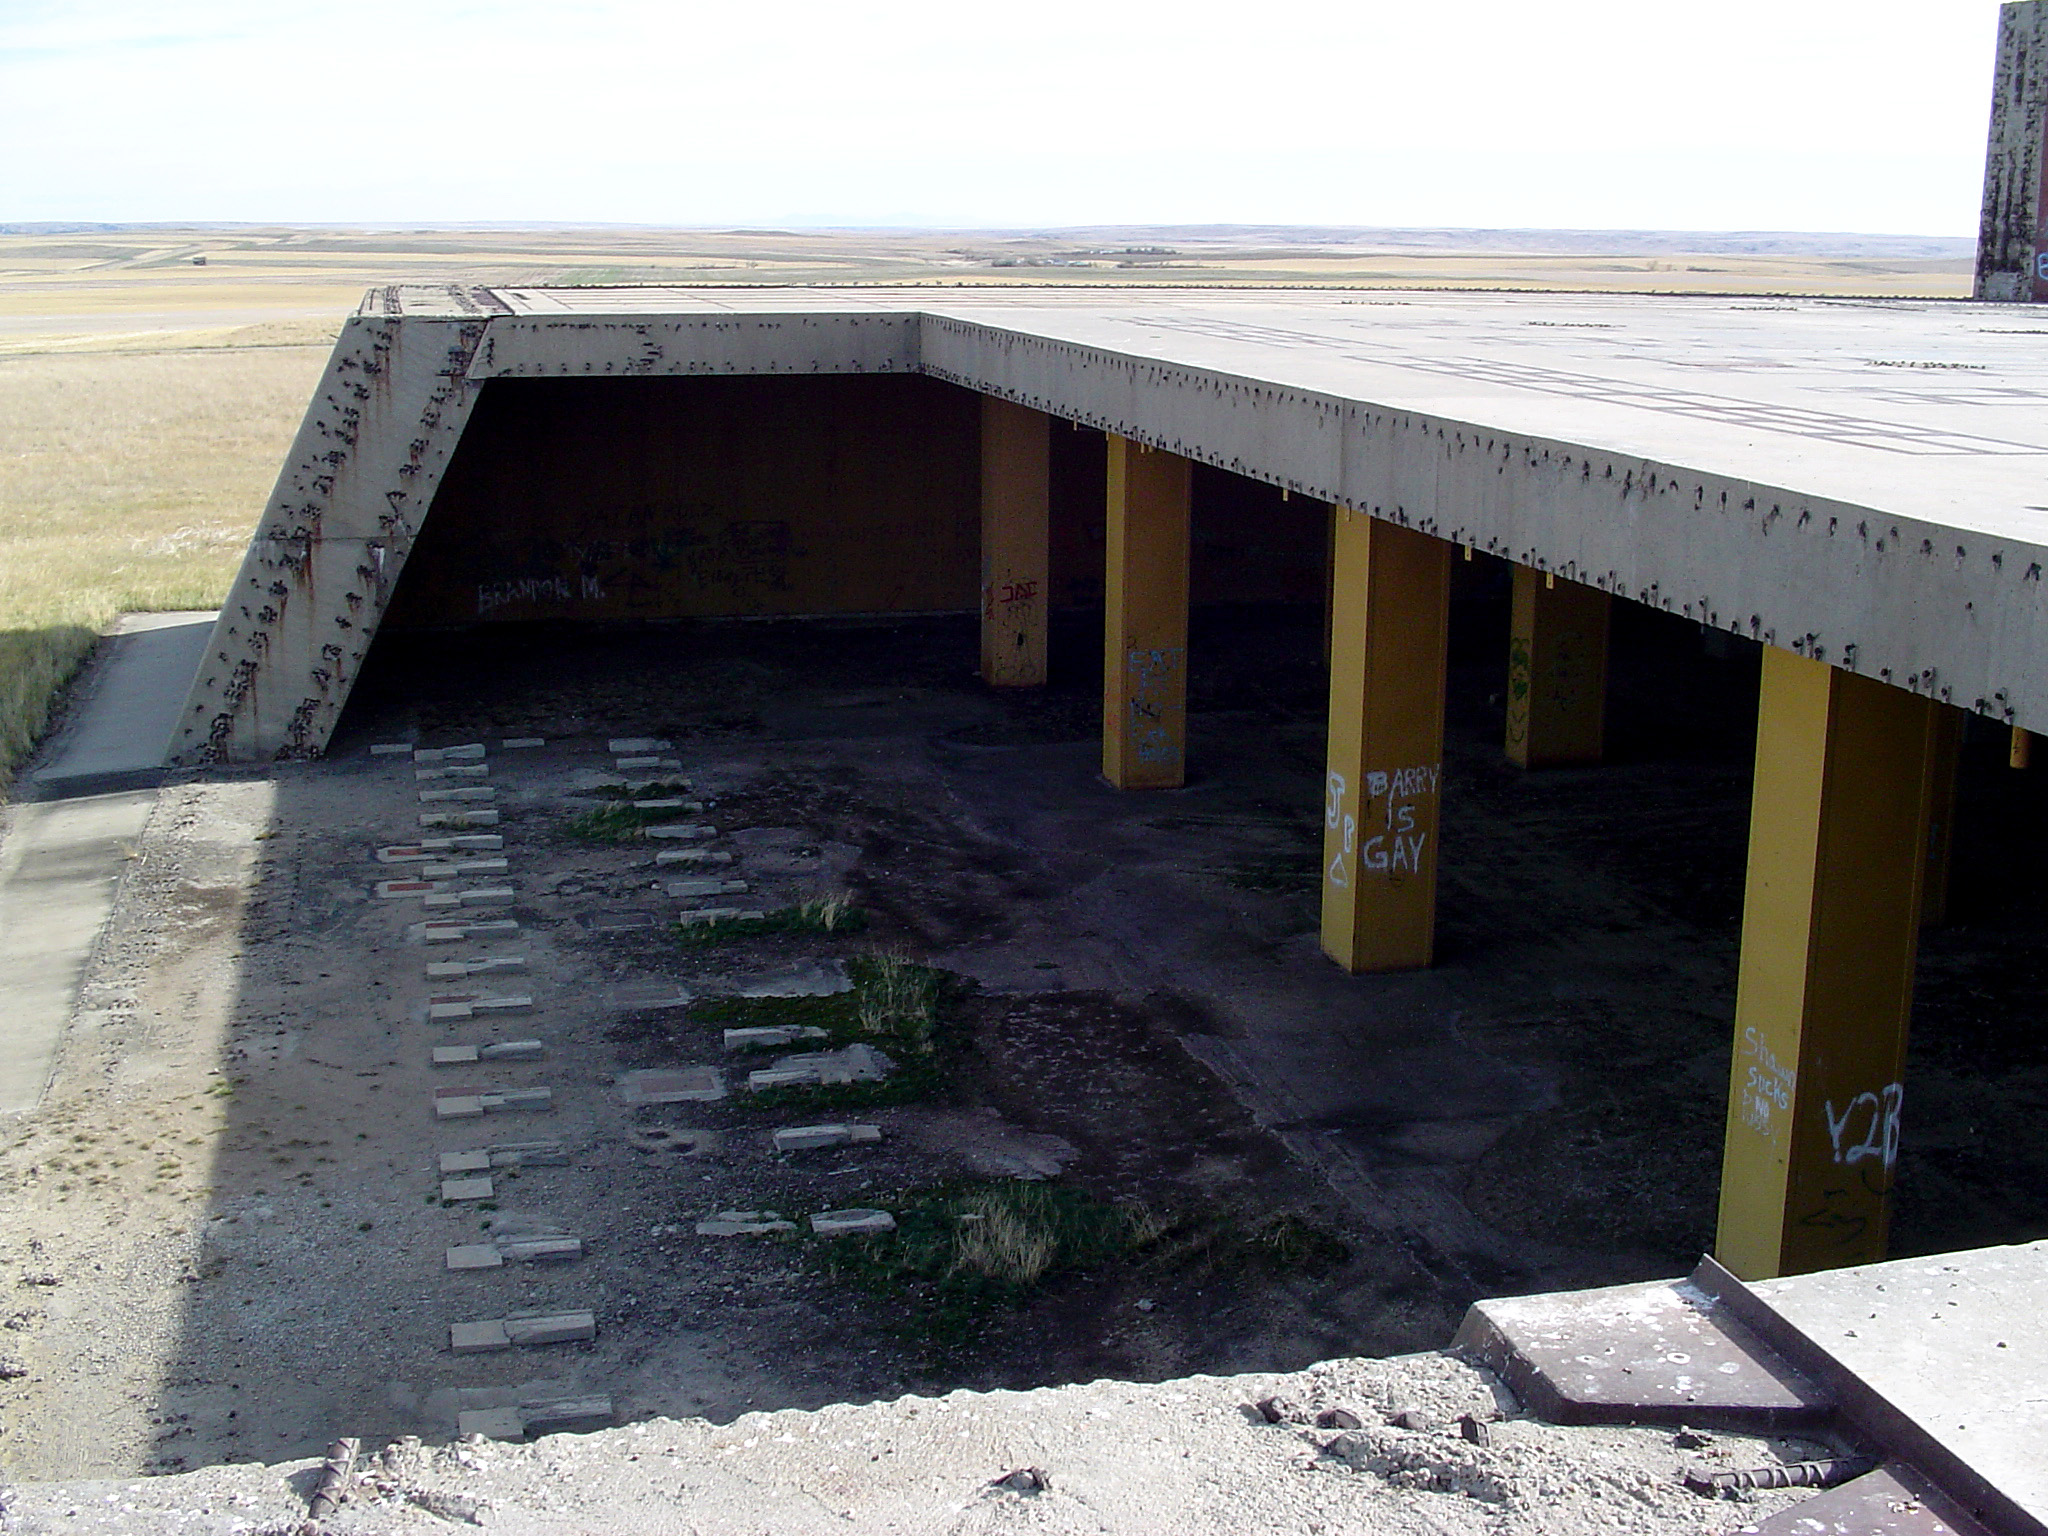
C04:
Antenna area looking east from level 2.
-
(0393 x 0295 = 0043k) Show | Omit descr (004803)
(0793 x 0595 = 0143k) Show | Omit descr
(2048 x 1536 = 1022k) Show | Omit descr
-
C05v:
<$ Video: Antenna wall from level 2.
-
mpg, 00:09 (640 x 480 = 3.2m) 004858
-
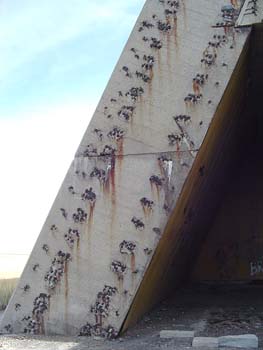
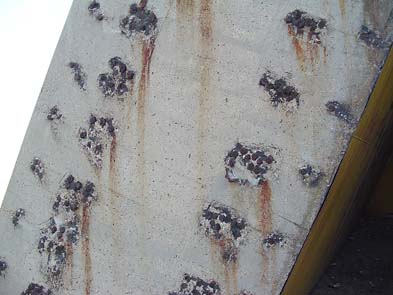
C06:
Antenna wall detail (wide view).
-
(263 x 350 = 036k) Show | Omit descr (004830)
(525 x 700 = 105k) Show | Omit descr
-
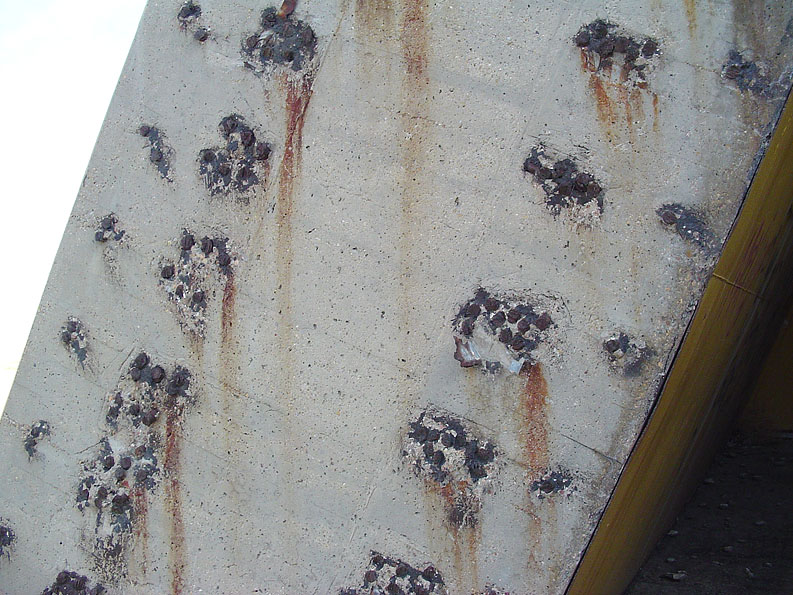
C07:
Antenna wall detail (closeup).
-
(393 x 295 = 045k) Show | Omit descr (004831)
(793 x 595 = 180k) Show | Omit descr
Section D
West wall
(Thumbnails)
-
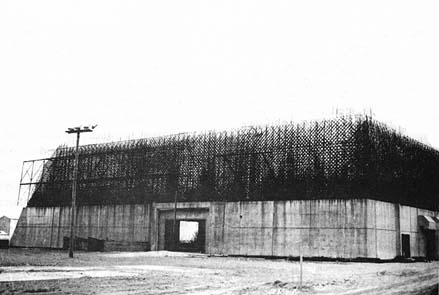
D01:
West wall with forms in place for pour of level 2 exterior walls (1973).
-
Only one segment of the level 2 wall was poured.
-
(439 x 295 = 36k) Show | Omit descr (002920)
(887 x 596 = 99k) Show | Omit descr
-
From History of the Huntsville Division.
-
D02:
Northwest corner.
-
(0393 x 0295 = 0036k) Show | Omit descr (004834)
(0793 x 0595 = 0126k) Show | Omit descr
(2048 x 1536 = 1000k) Show | Omit descr
-
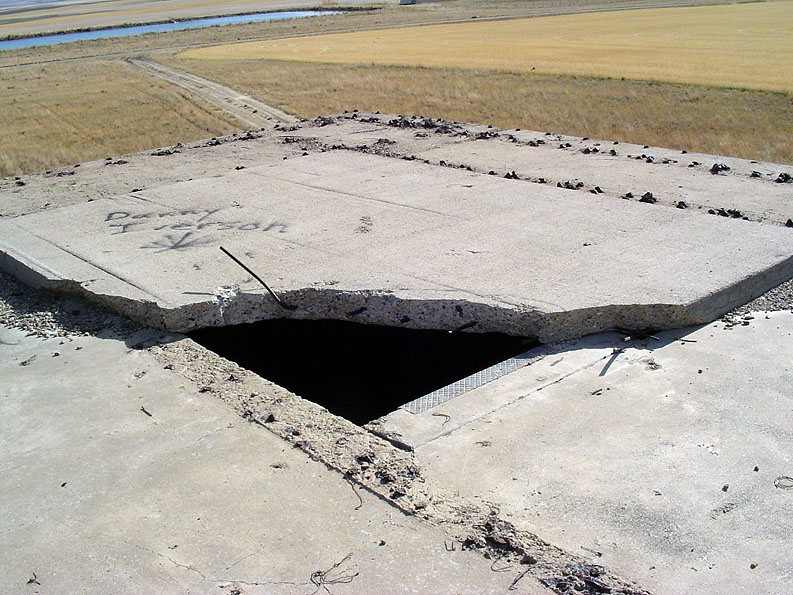
D03:
Utility tunnel opening in west wall.
-
(0393 x 0295 = 035k) Show | Omit descr (004833)
(0793 x 0595 = 123k) Show | Omit descr
(2048 x 1536 = 894k) Show | Omit descr
-
D04v:
<$ Video: West wall and utility tunnel opening.
-
mpg, 00:12 (640 x 480 = 4.3m) 004861
-
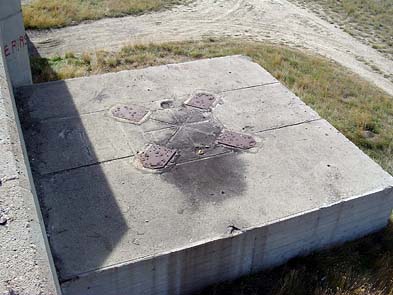
D05:
Concrete pad next to utility tunnel opening (view from level 2).
-
(393 x 295 = 051k) Show | Omit descr (004808)
(793 x 595 = 210k) Show | Omit descr
-
D06:
Closeup of utility tunnel opening.
-
(0393 x 0295 = 0039k) Show | Omit descr (004820)
(0793 x 0595 = 0147k) Show | Omit descr
(2048 x 1536 = 1109k) Show | Omit descr
-
D07:
West wall from southwest corner.
-
(0393 x 0295 = 036k) Show | Omit descr (004819)
(0793 x 0595 = 123k) Show | Omit descr
(2048 x 1536 = 989k) Show | Omit descr
Section E
Level 1 (interior)
(Thumbnails)
-
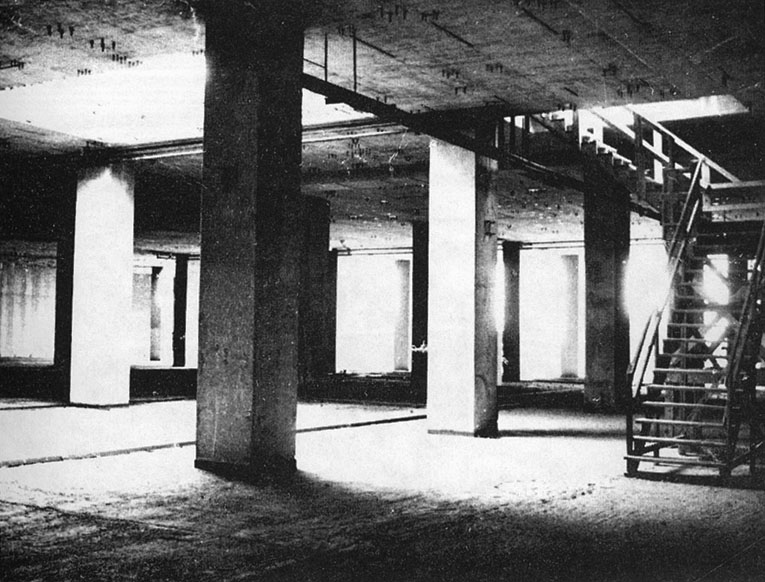
E01:
Level 1 interior view (1973).
-
(388 x 295 = 047k) Show | Omit descr (002922)
(765 x 582 = 129k) Show | Omit descr
-
From History of the Huntsville Division.
-
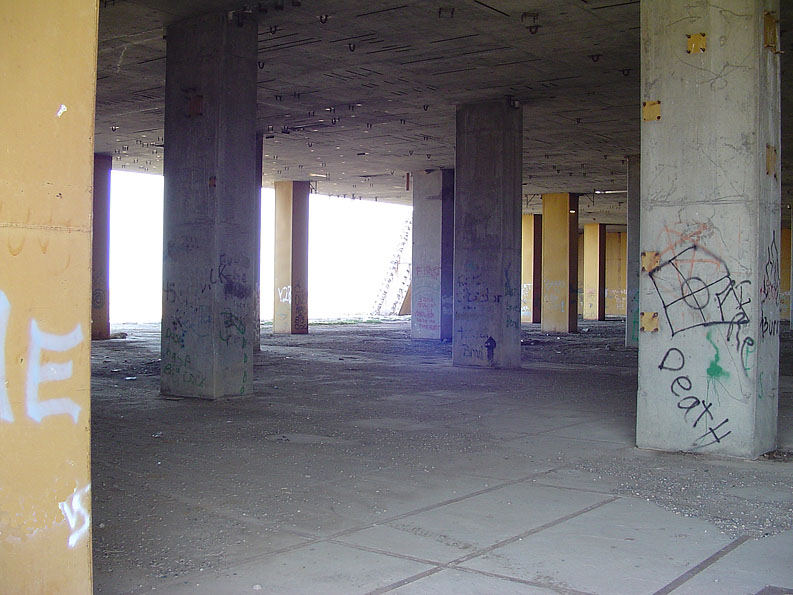
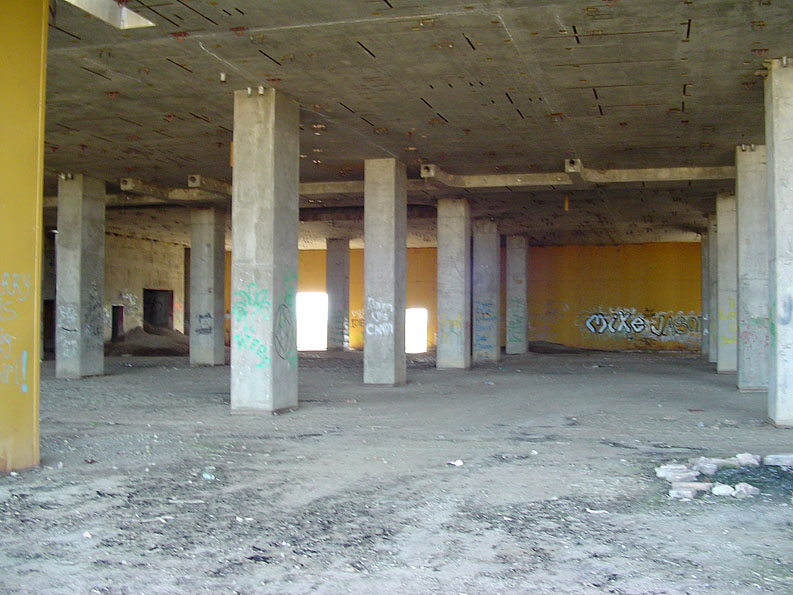
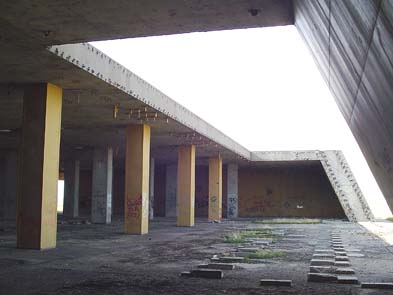
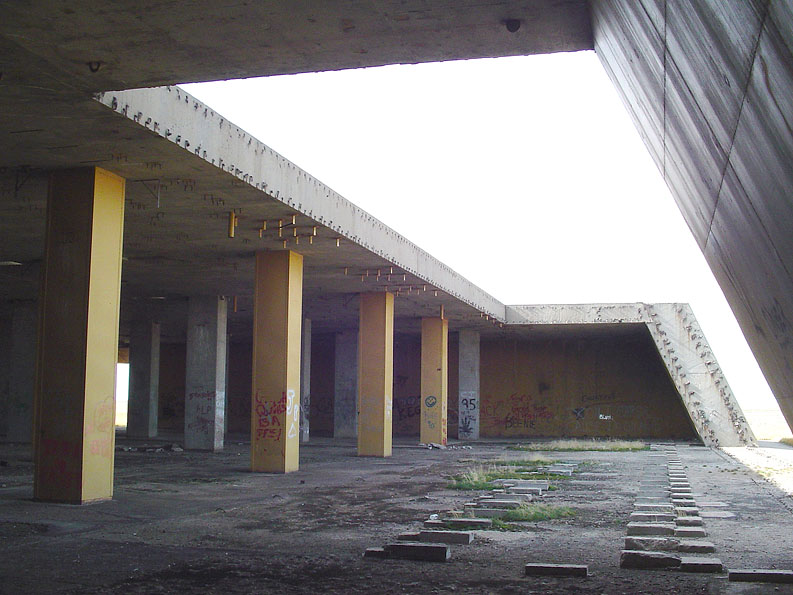
E02:
Level 1 interior looking toward northeast.
-
(0393 x 0295 = 036k) Show | Omit descr (004821)
(0793 x 0595 = 126k) Show | Omit descr
(2048 x 1536 = 959k) Show | Omit descr
-
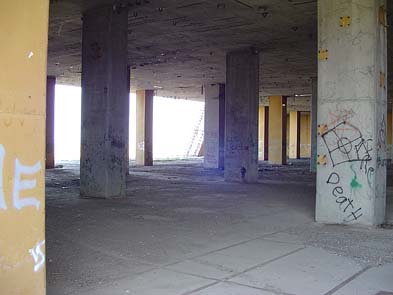
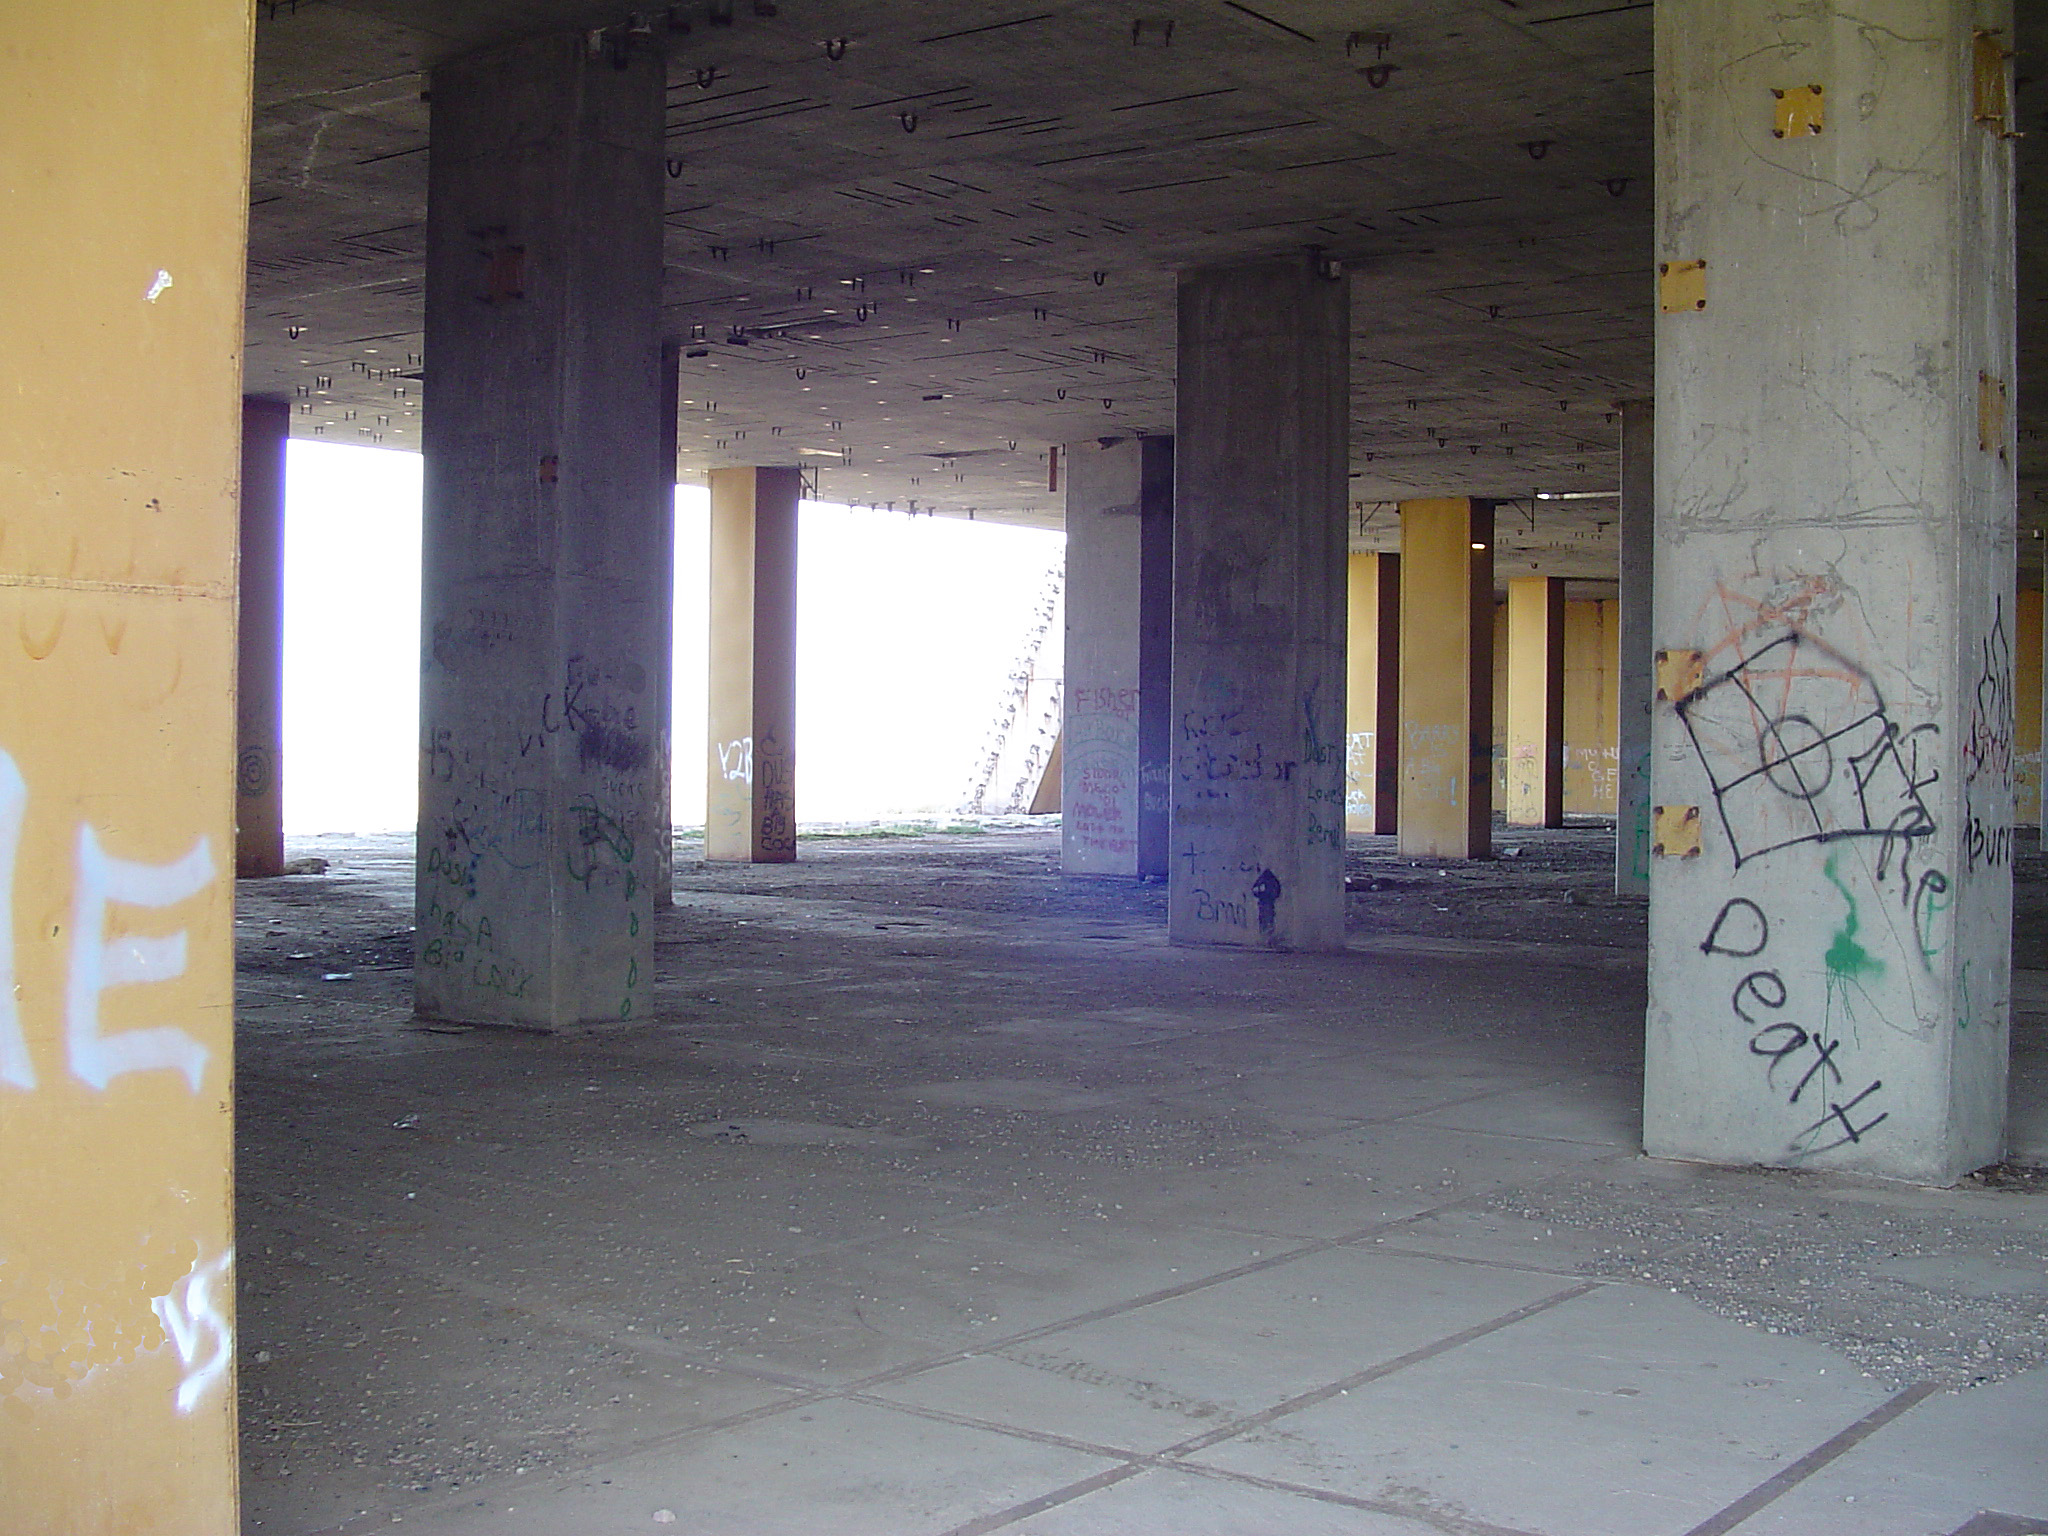
E03:
Level 1 interior looking toward the south.
-
(393 x 295 = 042k) Show | Omit descr (004835)
(793 x 595 = 136k) Show | Omit descr
-
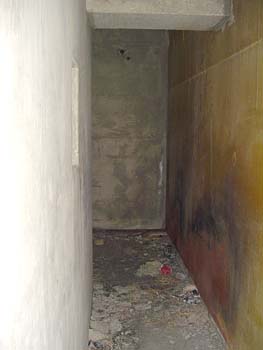
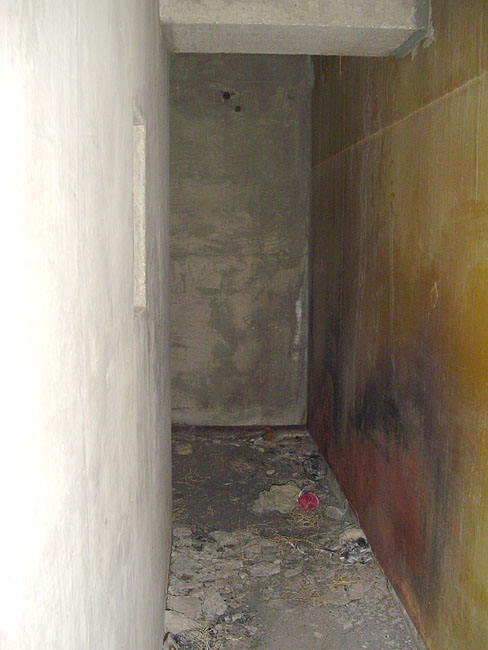
E04:
Corridor.
-
(263 x 350 = 28k) Show | Omit descr (004822)
(488 x 650 = 78k) Show | Omit descr
-
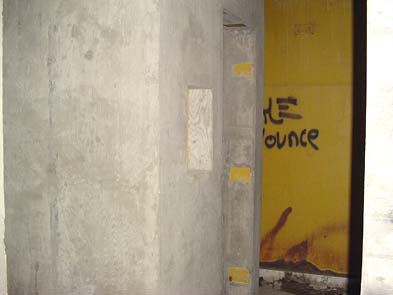
E05:
Interior wall and door frame.
-
(393 x 295 = 032k) Show | Omit descr (004823)
(793 x 595 = 107k) Show | Omit descr
-
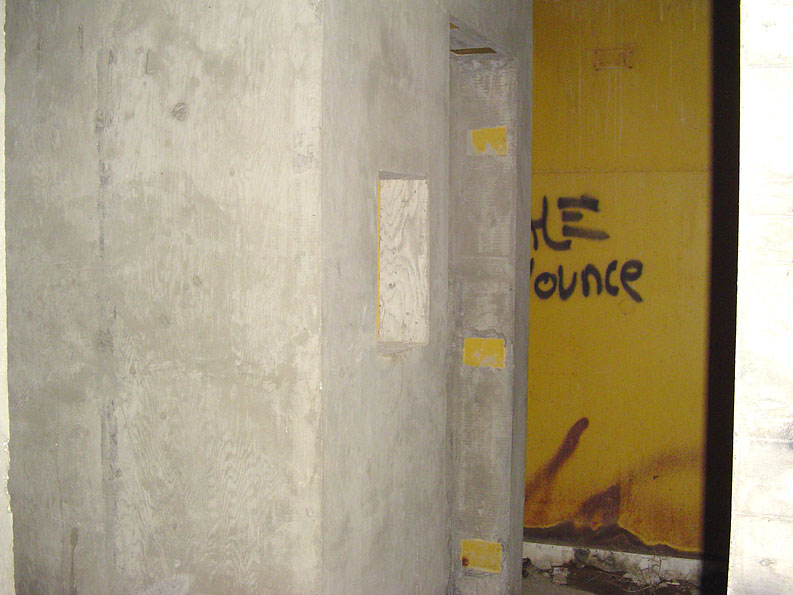
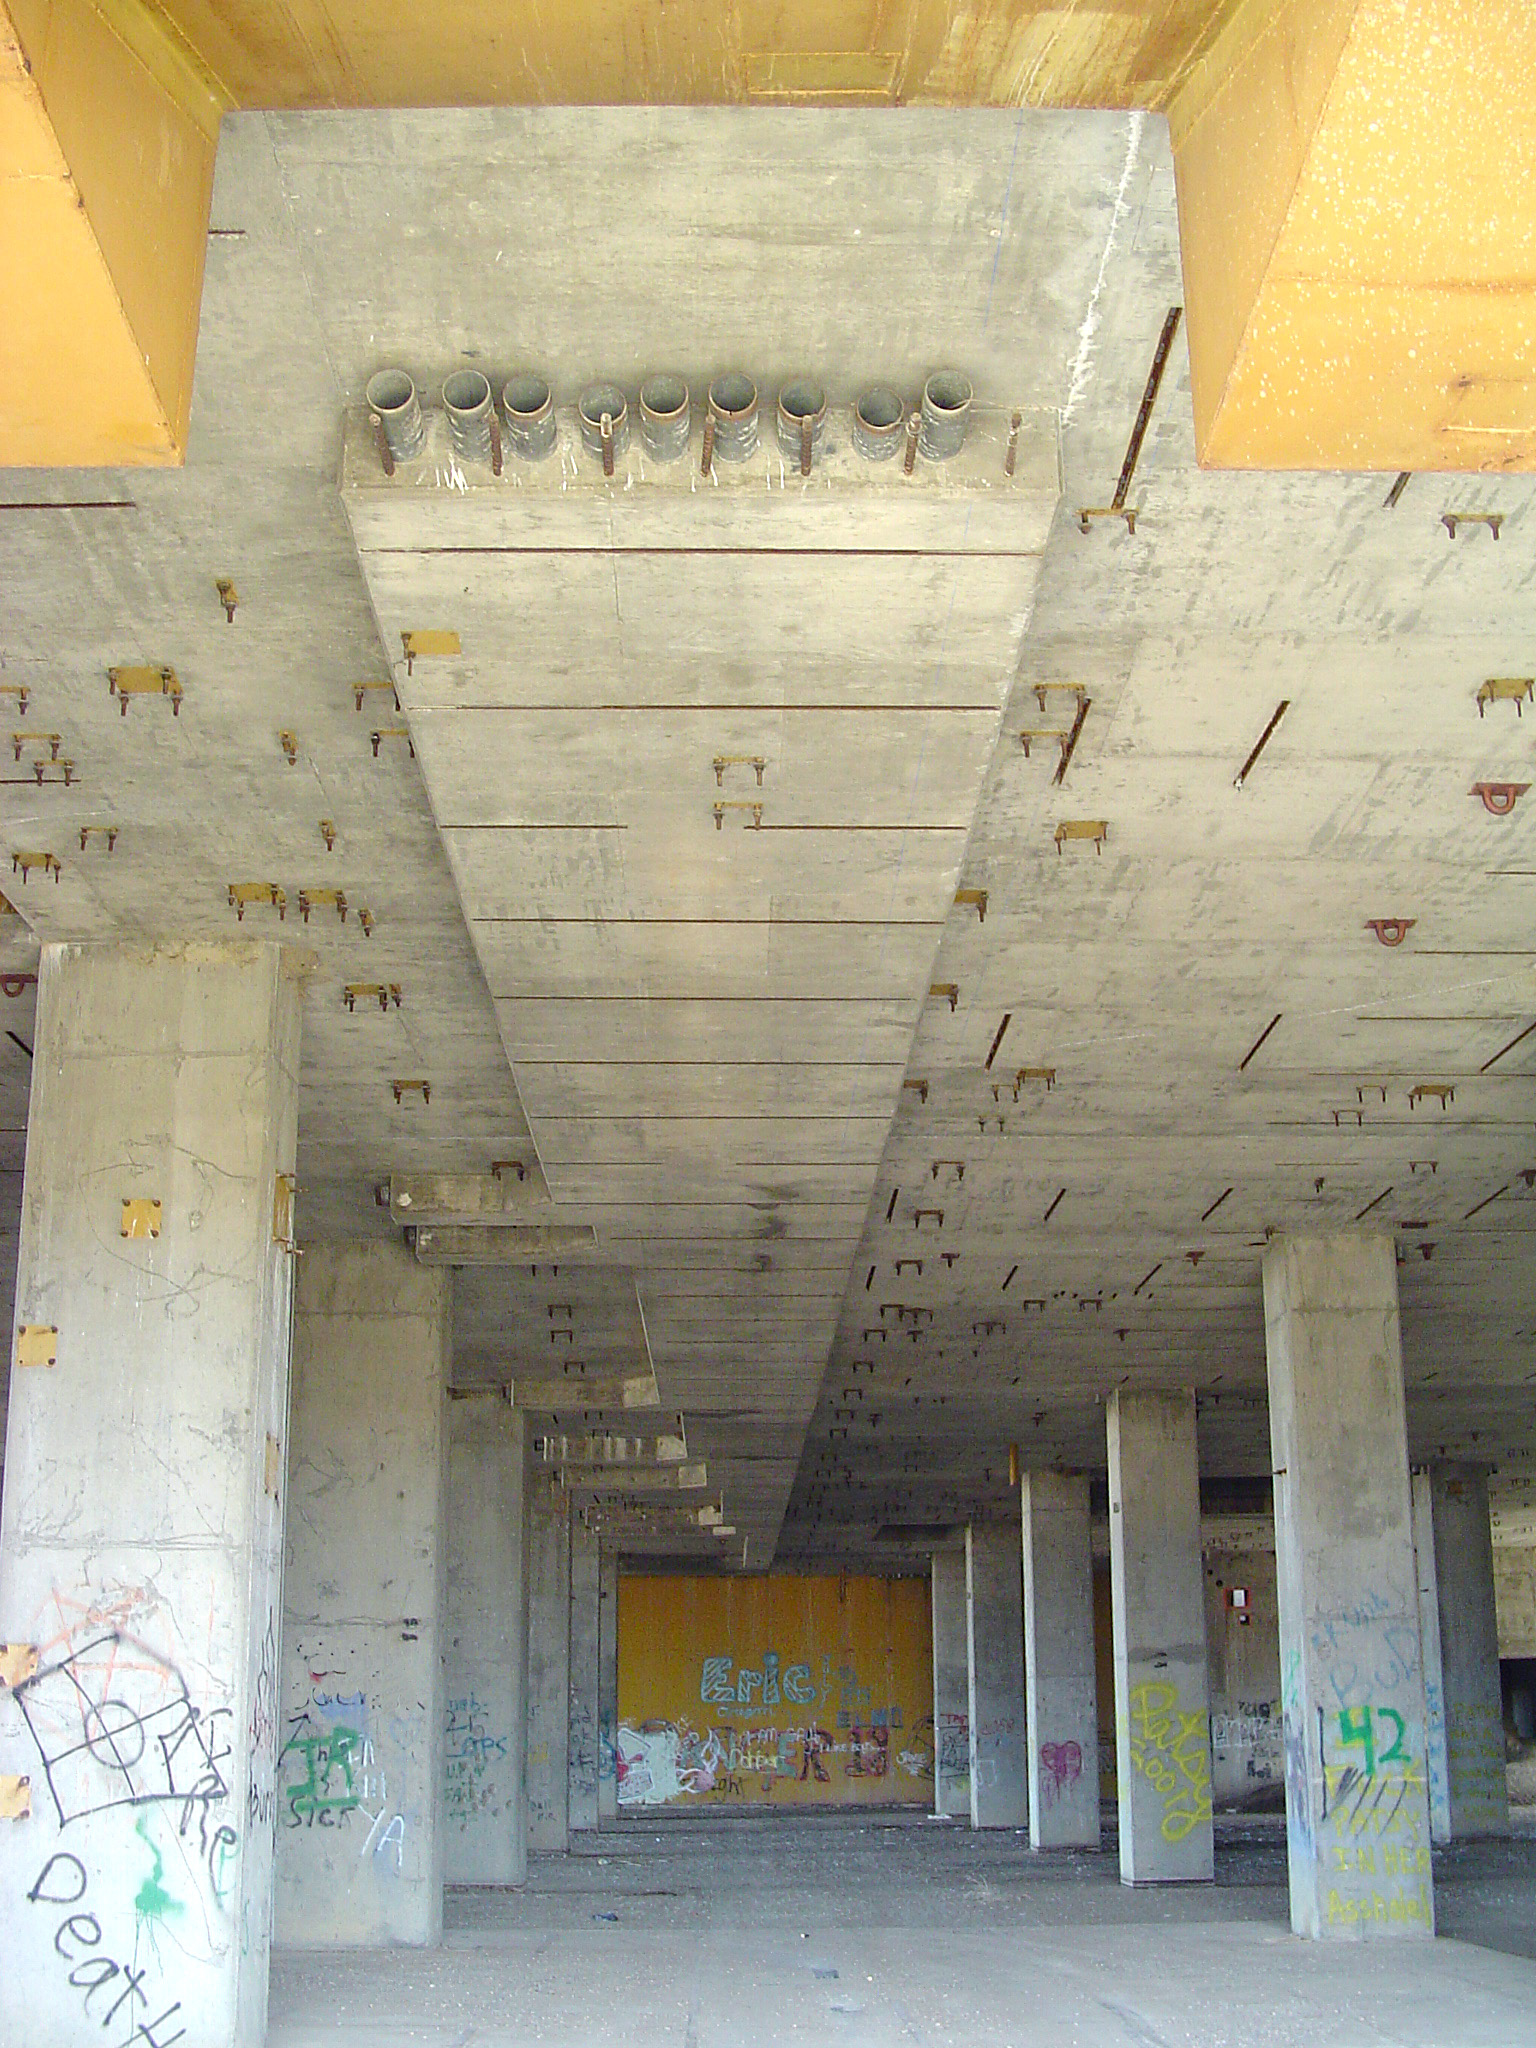
E06:
Entry area with exterior wall cutaway.
-
(263 x 350 = 037k) Show | Omit descr (004824)
(488 x 650 = 102k) Show | Omit descr
-
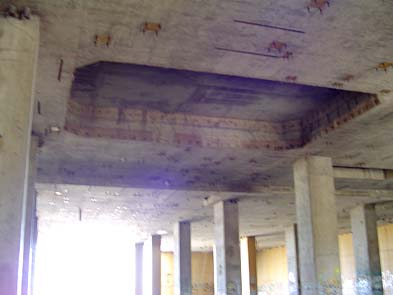
E07:
Ceiling detail.
-
(393 x 295 = 35k) Show | Omit descr (004826)
(793 x 595 = 95k) Show | Omit descr
-
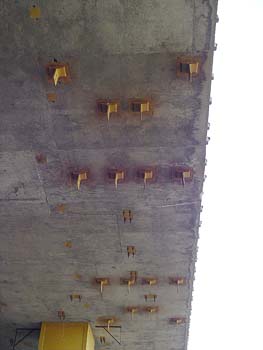
E08:
Ceiling brackets behind antenna wall.
-
(263 x 350 = 29k) Show | Omit descr (004837)
(488 x 650 = 79k) Show | Omit descr
-
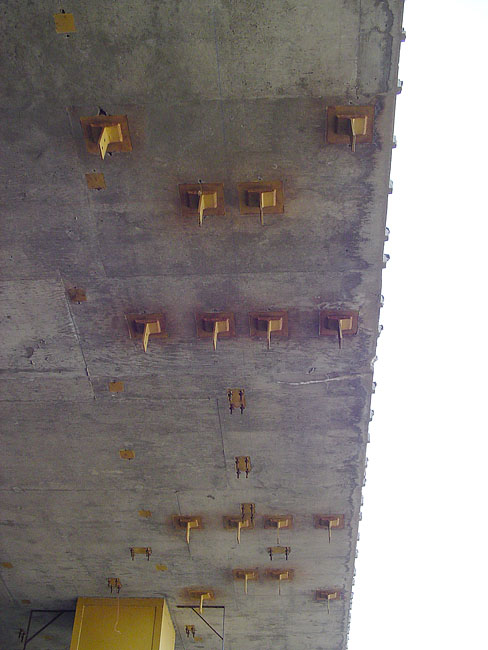
E09:
Ceiling detail behind utility tunnel entrance.
-
(0263 x 0350 = 0039k) Show | Omit descr (004839)
(0488 x 0650 = 0107k) Show | Omit descr
(1536 x 2048 = 1141k) Show | Omit descr
-
E10:
Level 1 interior just behind antenna wall.
-
(393 x 295 = 039k) Show | Omit descr (004828)
(793 x 595 = 125k) Show | Omit descr
-
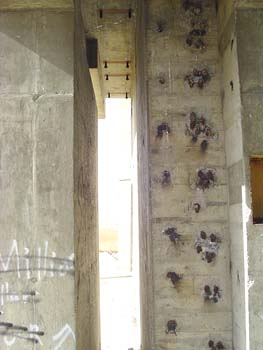
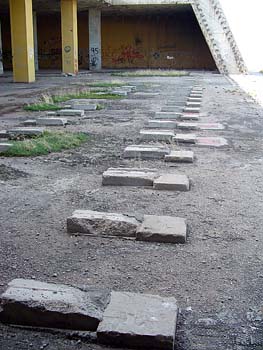
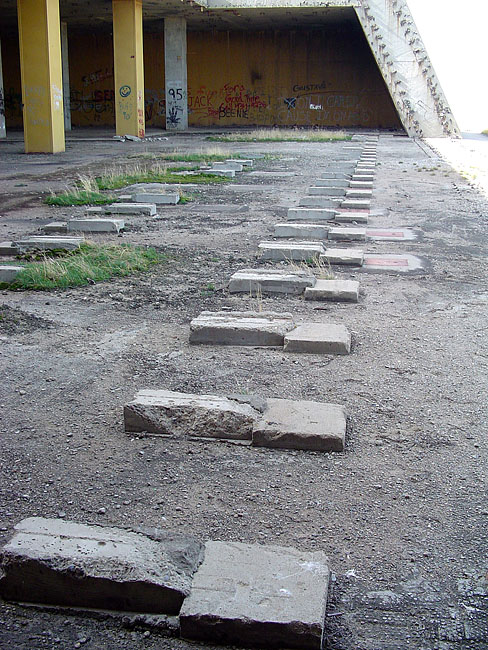
E11:
Footings behind antenna wall.
-
(263 x 350 = 050k) Show | Omit descr (004829)
(488 x 650 = 163k) Show | Omit descr
-
E12:
Antenna wall detail.
-
(393 x 295 = 29k) Show | Omit descr (004836)
(793 x 595 = 85k) Show | Omit descr
-
E13v:
<$ Video: Antenna wall and 180 interior pan of level 1.
-
mpg, 00:10 (640 x 480 = 3.7m) 004860
-
E14v:
<$ Video: Level 1 interior.
-
mpg, 00:07 (640 x 480 = 2.5m) 004859
Section F
Level 2 (open)
(Thumbnails)
-
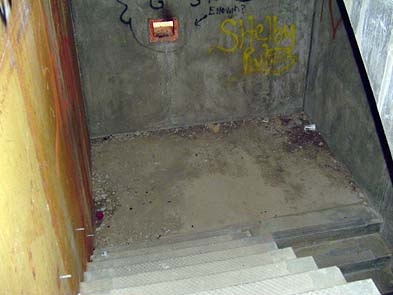
F01:
Stairway between levels 1 and 2.
-
(393 x 295 = 039k) Show | Omit descr (004813)
(793 x 595 = 158k) Show | Omit descr
-
F02:
View toward southeast.
-
In the background (on the left) is the only segment of exterior wall on level 2.
-
(0393 x 0295 = 033k) Show | Omit descr (004801)
(0793 x 0595 = 090k) Show | Omit descr
(2048 x 1536 = 720k) Show | Omit descr
-
F03:
Detail of top of level 1 west wall.
-
(0263 x 0350 = 0046k) Show | Omit descr (004802)
(0488 x 0650 = 0135k) Show | Omit descr
(1536 x 2048 = 1213k) Show | Omit descr
-
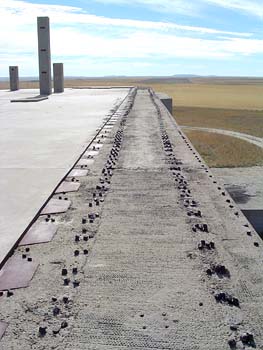
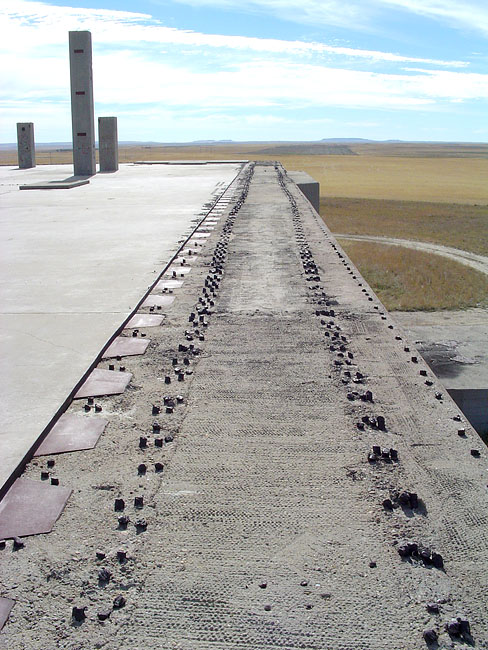
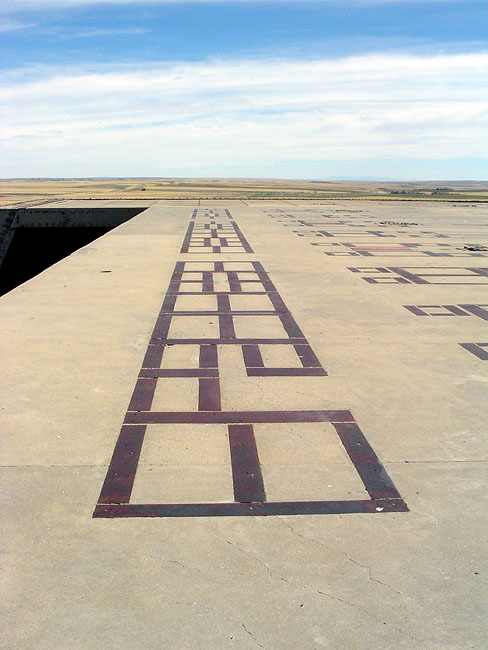
F04:
Level 2 floor detail just behind antenna wall (looking north).
-
(0393 x 0295 = 0037k) Show | Omit descr (004805)
(0793 x 0595 = 0123k) Show | Omit descr
(2048 x 1536 = 1037k) Show | Omit descr
-
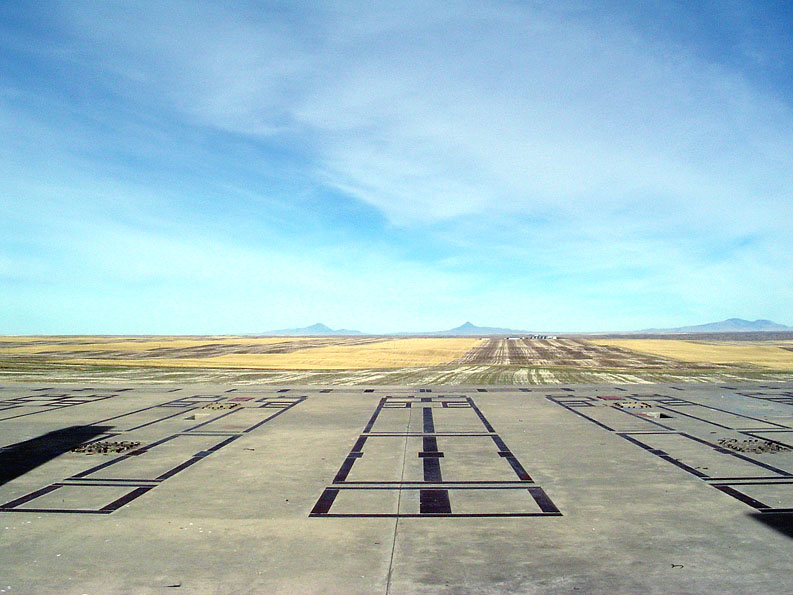
F05:
Level 2 floor detail just behind antenna wall (looking east).
-
(263 x 350 = 34k) Show | Omit descr (004809)
(488 x 650 = 88k) Show | Omit descr
-
F06v:
<$ Video: Antenna wall detail from level 2, level 2 pan, and view to north.
-
mpg, 00:14 (640 x 480 = 5.0m) 004862
-
F07:
Floor detail, southeast corner.
-
(393 x 295 = 048k) Show | Omit descr (004810)
(793 x 595 = 181k) Show | Omit descr
-
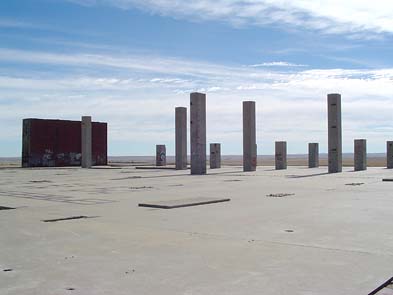
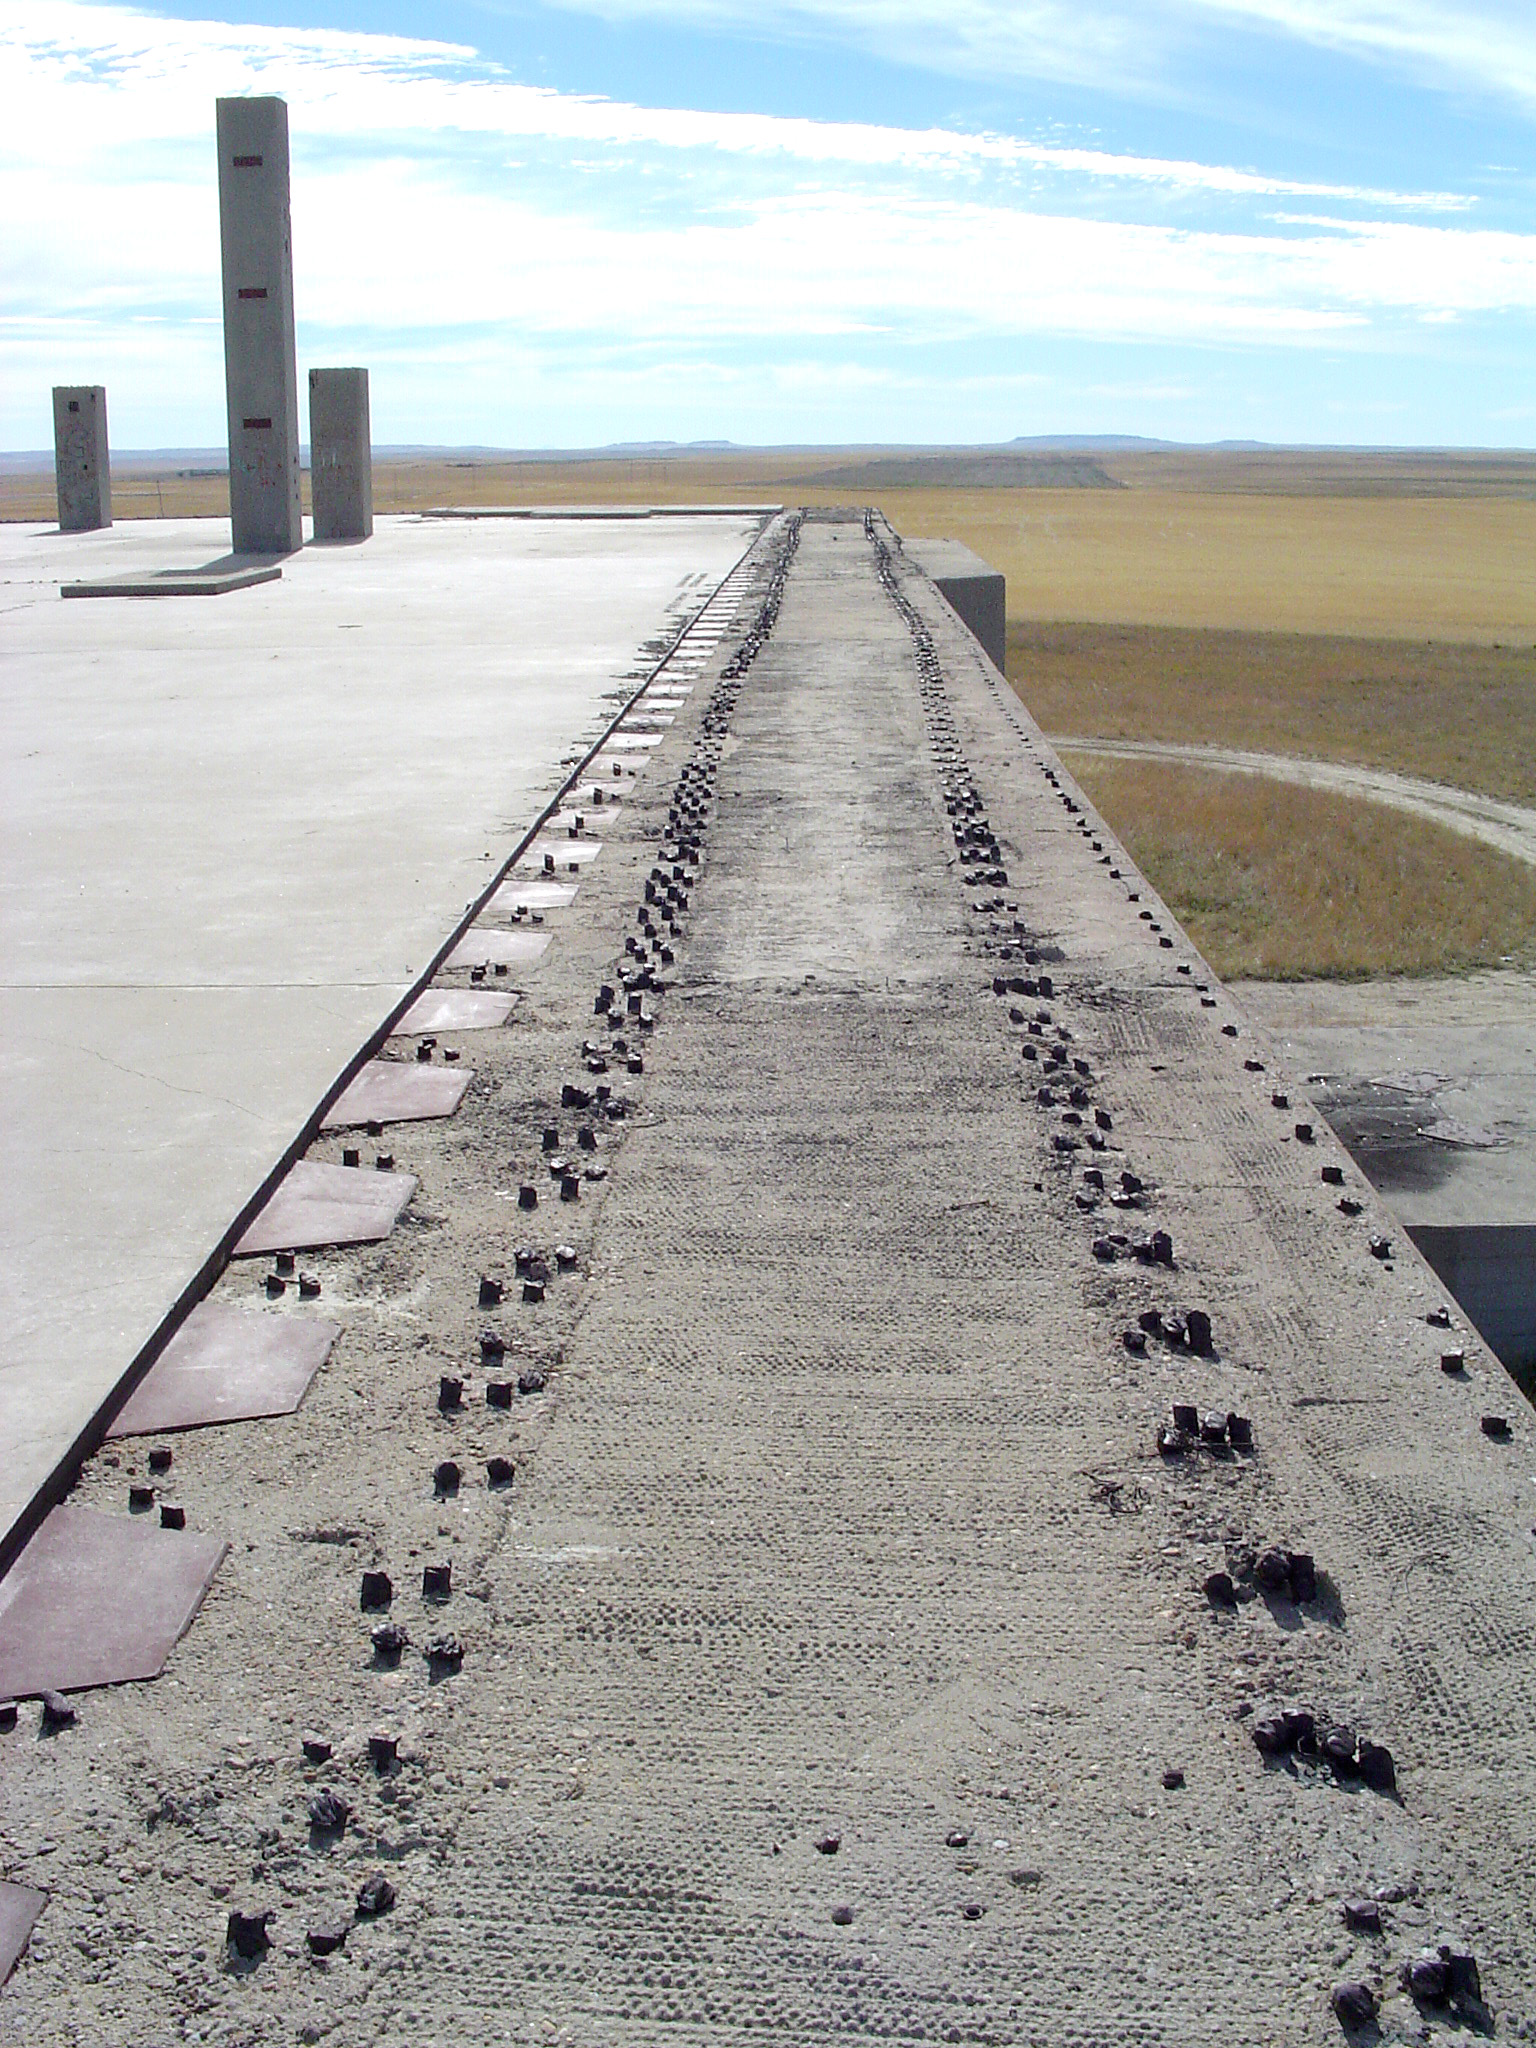
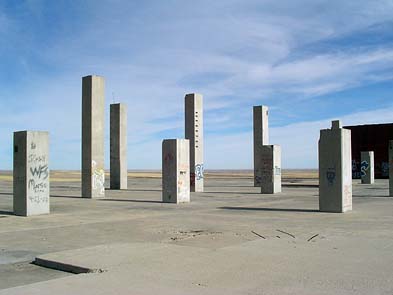
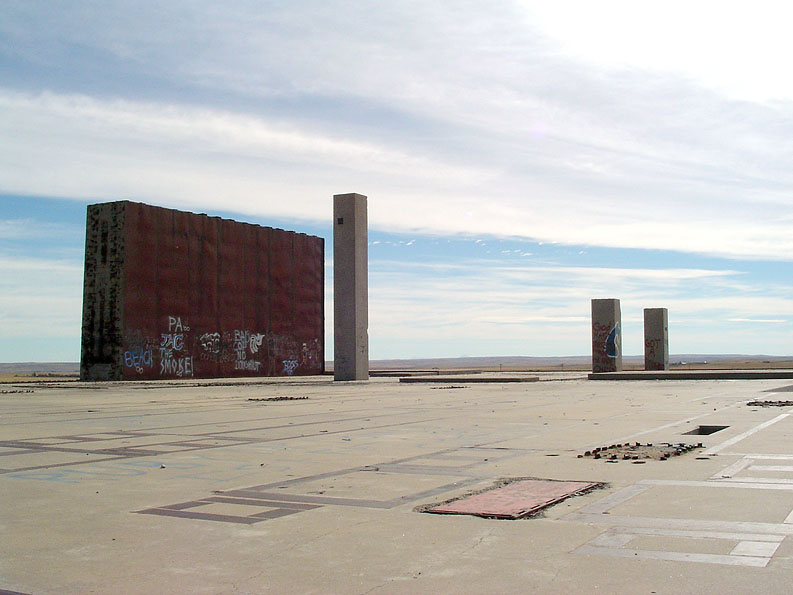
F08:
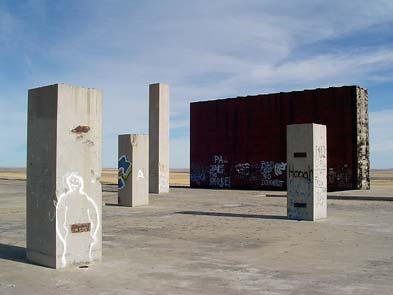
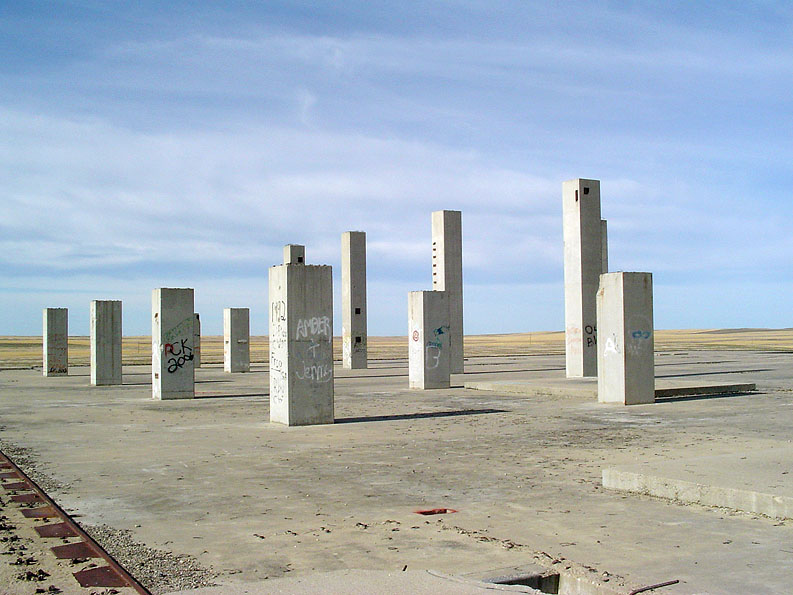
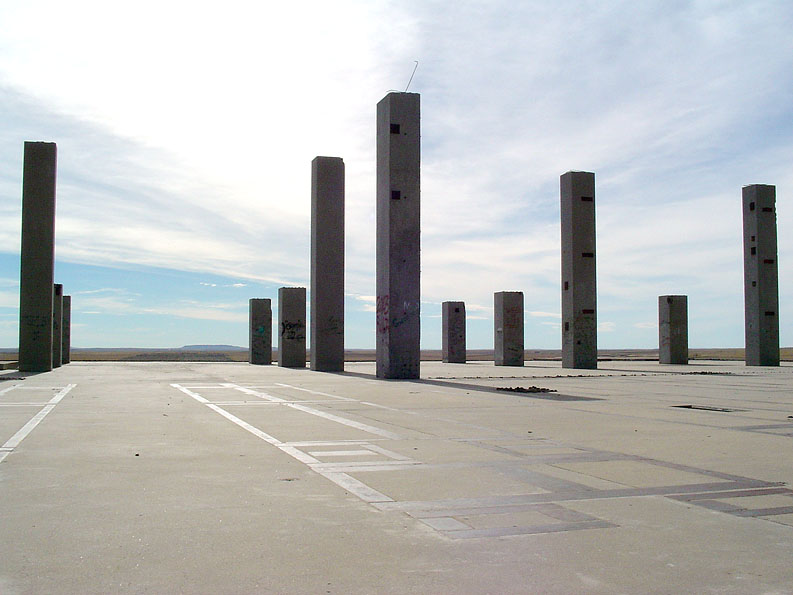
View looking northeast showing partially completed level 2 support columns.
-
(393 x 295 = 034k) Show | Omit descr (004807)
(793 x 595 = 106k) Show | Omit descr
-
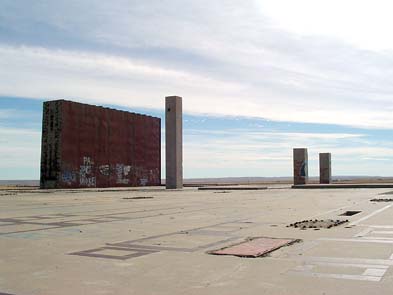
F09:
View looking northeast with the only level 2 external wall section in background.
-
(393 x 295 = 035k) Show | Omit descr (004806)
(793 x 595 = 106k) Show | Omit descr
-
F10v:
<$ Video: Level 2 pan from southwest corner.
-
mpg, 00:07 (640 x 480 = 2.7m) 004857
-
F11:
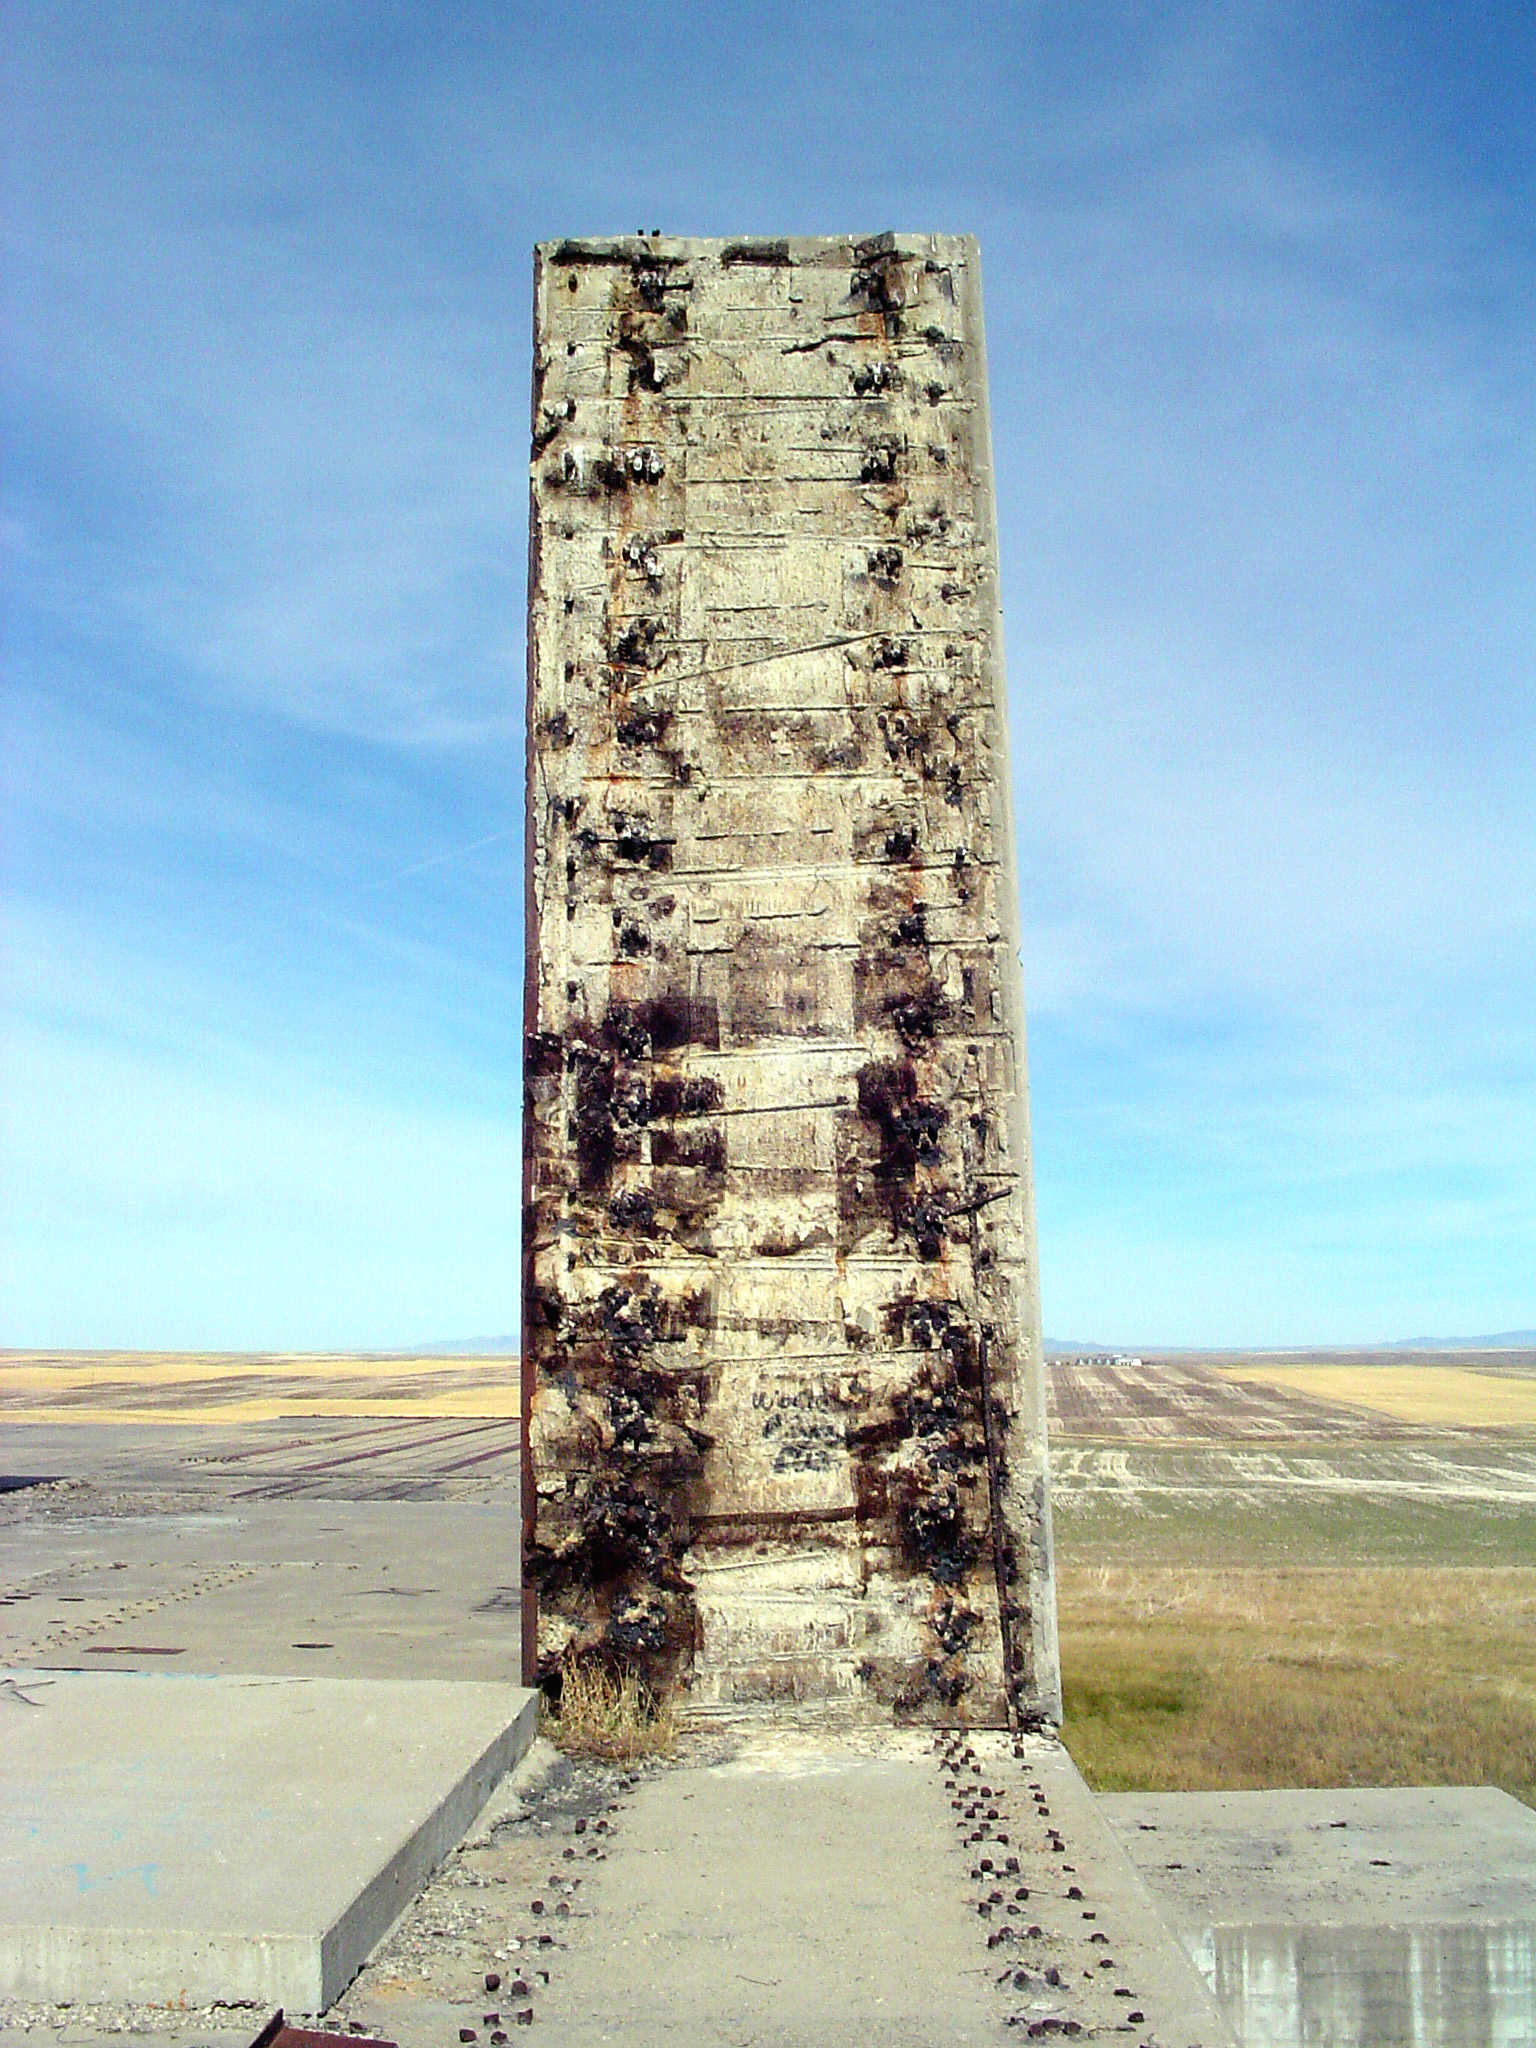
Detail of the only level 2 external wall section.
-
This photo shows the narrowing of external walls with increasing building height.
-
(0263 x 0350 = 0042k) Show | Omit descr (004811)
(0488 x 0650 = 0116k) Show | Omit descr
(1536 x 2048 = 1217k) Show | Omit descr
-
F12:
View looking southeast showing floor detail and external wall section in background.
-
(0393 x 0295 = 033k) Show | Omit descr (004845)
(0793 x 0595 = 095k) Show | Omit descr
(2048 x 1536 = 766k) Show | Omit descr
-
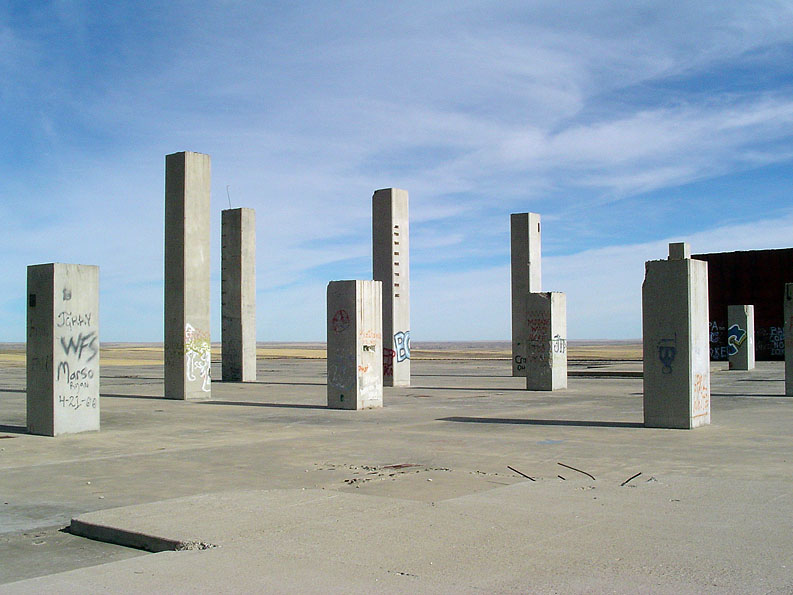
F13:
View looking west from southeast corner showing partially completed support columns.
-
(393 x 295 = 036k) Show | Omit descr (004812)
(793 x 595 = 121k) Show | Omit descr
-
F14:
View looking south showing floor detail and partially completed support columns.
-
(0393 x 0295 = 033k) Show | Omit descr (004844)
(0793 x 0595 = 091k) Show | Omit descr
(2048 x 1536 = 741k) Show | Omit descr