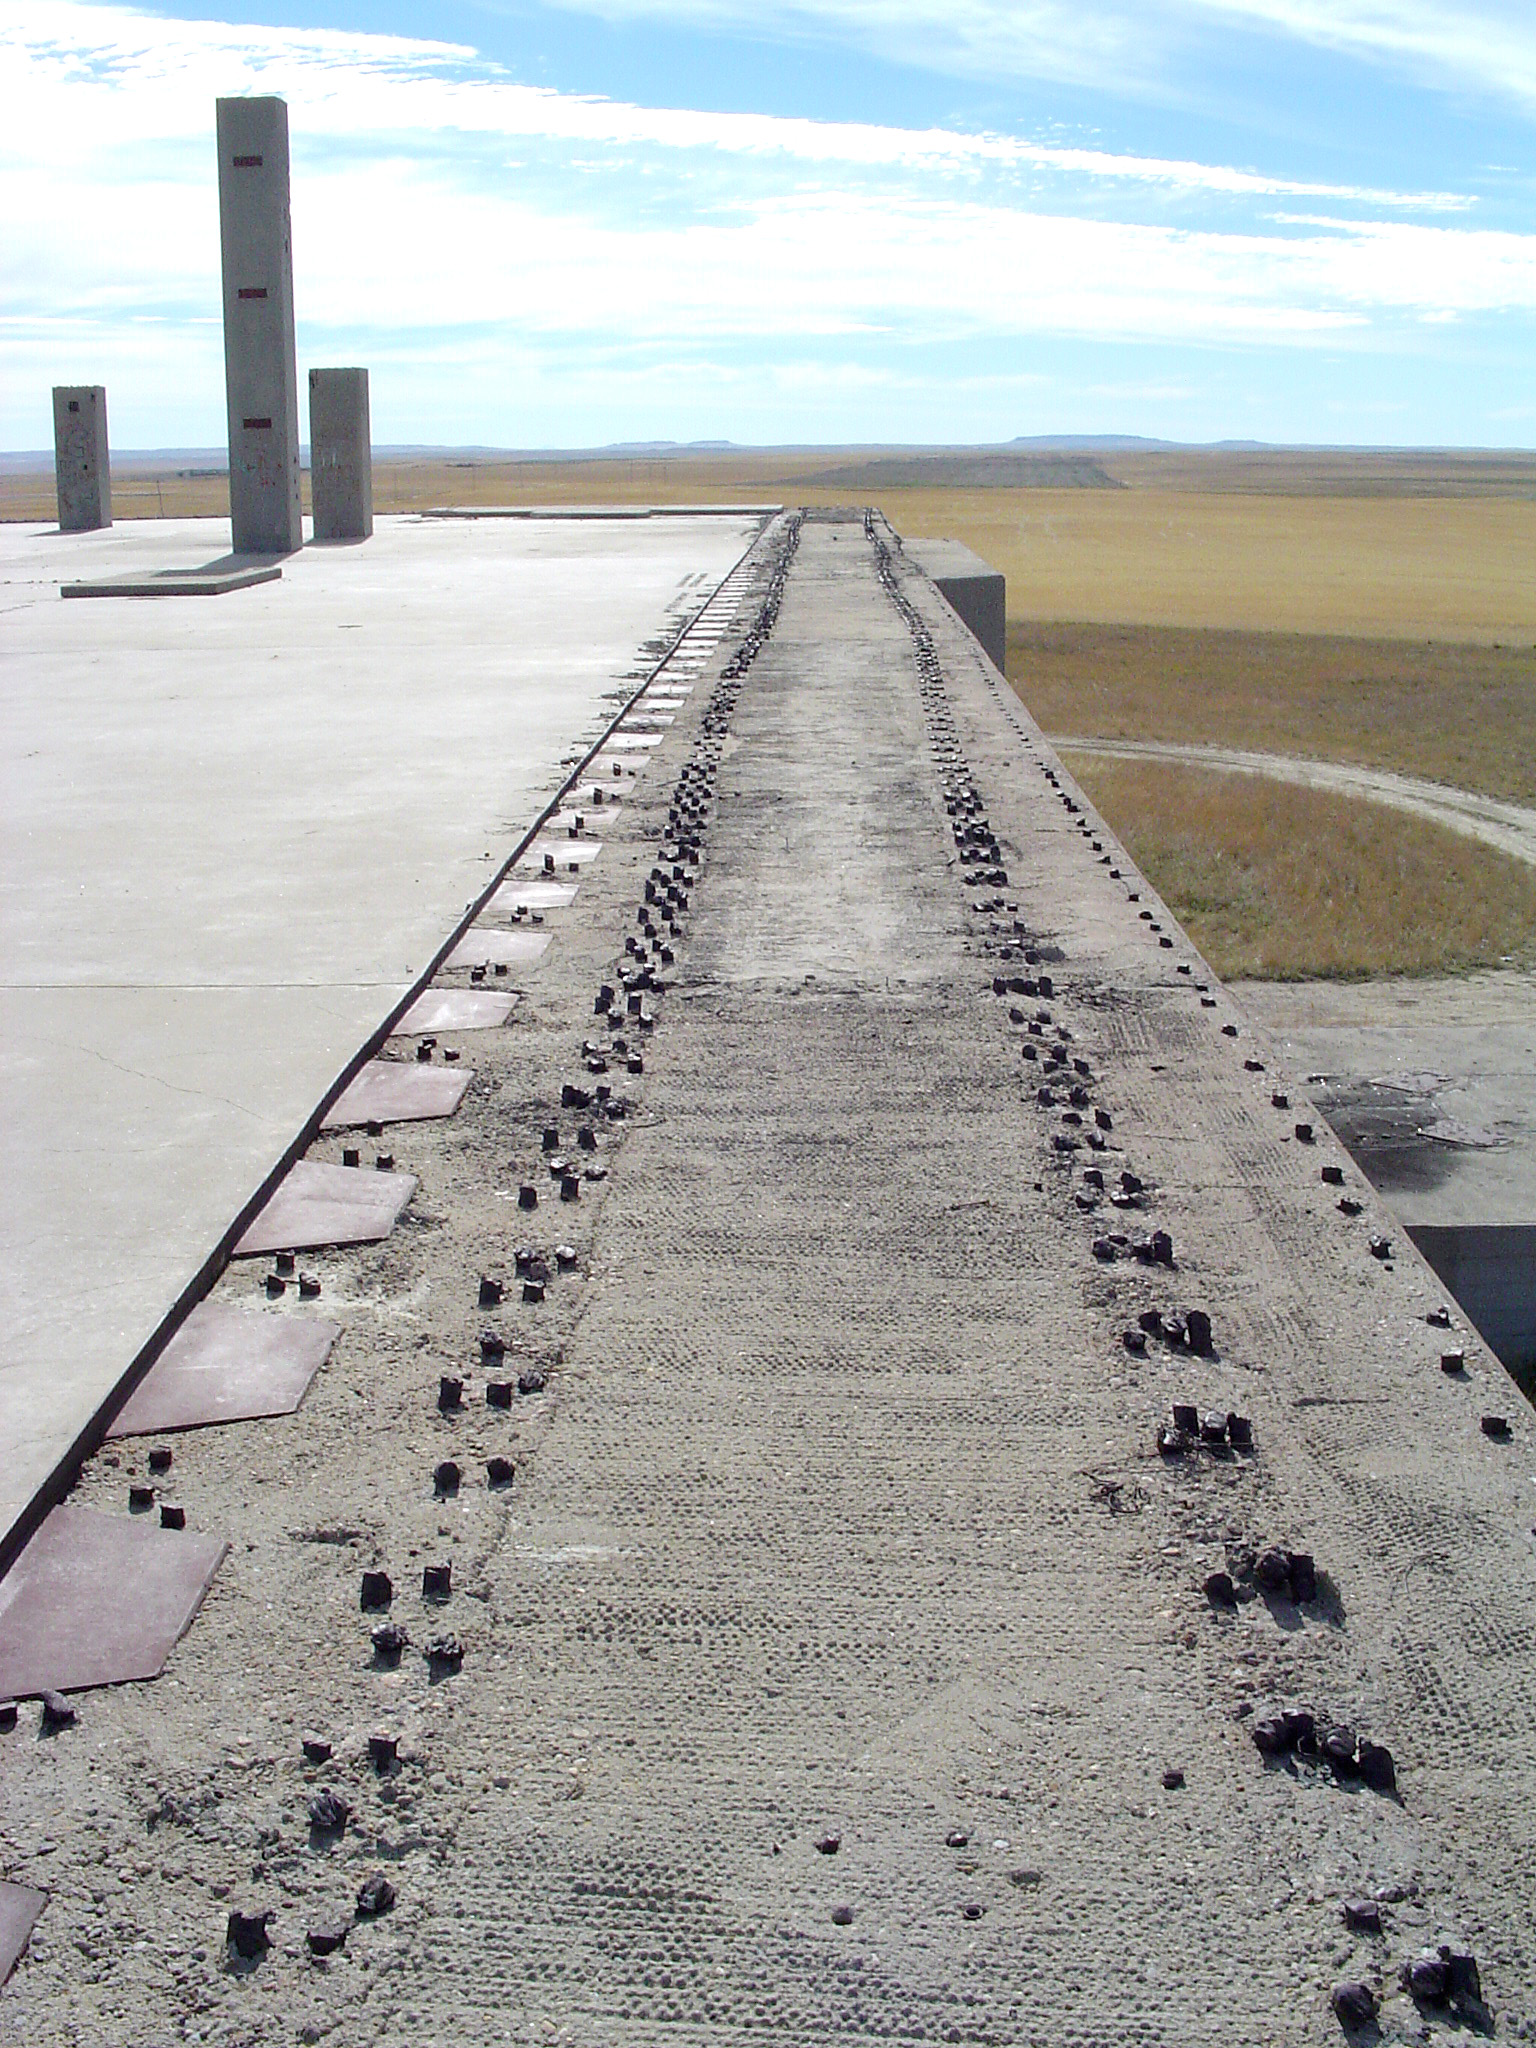
Detail of top of level 1 west wall.